
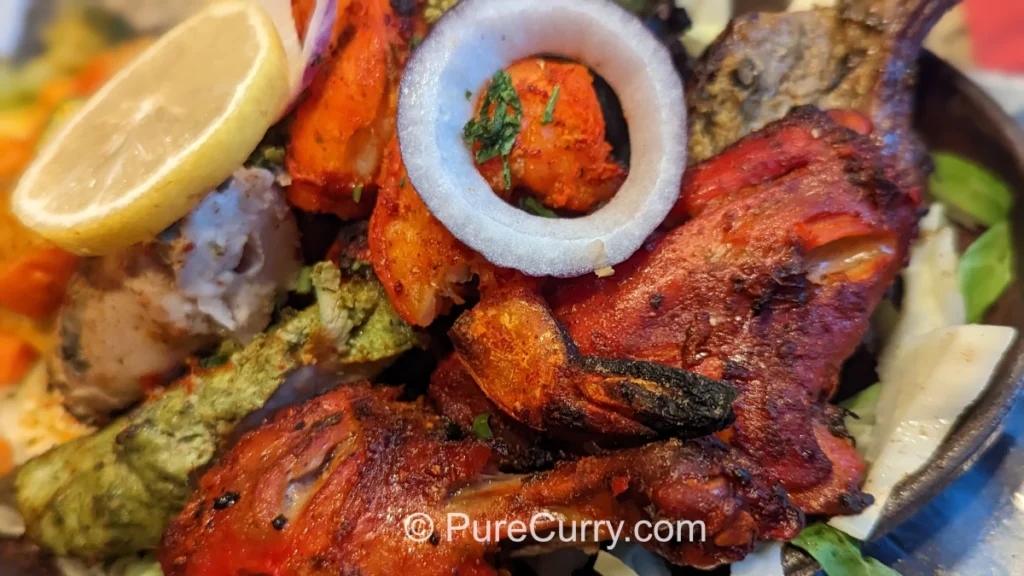
Making Restaurant-Style Tandoori Chicken at Home
Tandoori chicken is one of the most iconic dishes of Mughlai cuisine – smoky, vibrant, deeply spiced, and irresistibly juicy. For years, I believed dishes from Mughlai cuisine were too complex to replicate at home. Without a clay tandoor oven, how could I possibly recreate that flavor? That turned out to be untrue.
It took me many attempts over several years — adjusting the marinade, refining oven temperature, learning how to finish under the broiler — but I can confidently say this version produces tender, flavorful Tandoori Chicken in a regular home oven.
What Makes Tandoori Chicken Special?
Traditionally, Tandoori Chicken is cooked in a tandoor, a cylindrical clay oven that reaches extremely high temperatures. The intense heat:
- Seals in juices quickly
- Creates charred edges
- Produces a lightly smoky aroma
- Forms a beautifully spiced crust
At home, this can be replicated by:
- Marinating properly
- Cooking at high heat
- Finishing under the broiler
The broiling step is essential as it gives the chicken its signature char and color.

The Key: Two-Step Marination
The secret to tender, juicy Tandoori Chicken lies in the two-step marination. A pre-marination of the chicken first in lemon juice, ginger-garlic paste, chili powder, and salt to ensure the chicken is seasoned throughout, and not just coated on the outside.
This is followed by a second marination in yogurt, ginger-garlic paste, chili powder, garam masala, salt, and oil.
This layered approach builds depth and complexity that a single marinade can’t quite replicate.
If you’re short on time, you can combine everything into one marinade and marinate longer. However, the two-step process gives slightly better texture and more even seasoning.
🧪The Science: How the Two-Step Marination Impacts the Chicken
Step 1: Acid + Salt + Aromatics (Pre-Marination)
This first layer does several important things:
- Salt Penetration: Salt begins diffusing into the meat immediately. This seasons the chicken internally, not just on the surface.
- Acid Tenderizing: Lemon juice slightly denatures surface proteins. This helps the second marinade cling better. It also begins softening tougher muscle fibers.
- Flavor Infusion: Ginger-garlic and chili start penetrating the scored cuts. Because there’s no yogurt yet, the acid and salt contact the meat directly.
Think of this as a flavor primer layer.
Step 2: Yogurt-Based Marinade
The yogurt mixture does something different:
- Yogurt tenderizes more gently than lemon (lactic acid vs citric acid).
- Fat from yogurt and oil carries fat-soluble spice compounds.
- Garam masala blooms in the fat.
- The thick coating protects the meat during high-heat cooking.
This layer builds depth, aroma, surface char complexity and the classic tandoori crust.
Scoring the Chicken
Before marinating, make deep slits in the chicken pieces. This helps the marinade penetrate deeper, the meat cook more evenly, and the flavors reach the bone.
Bone-in, skinless chicken pieces (especially thighs and drumsticks) work best for authentic flavor and juiciness.
Oven Tips for Best Results
Since we’re not using a tandoor:
- Preheat your oven thoroughly – high heat is important.
- Place the chicken on a rack over a tray so hot air circulates.
- Don’t overcrowd the pan.
- Cook until nearly done, then broil for a few minutes to char the edges.
Watch carefully during broiling – it can go from perfect to burnt quickly.
How to Know It’s Done
- The juices should run clear.
- Internal temperature should reach 165°F (74°C).
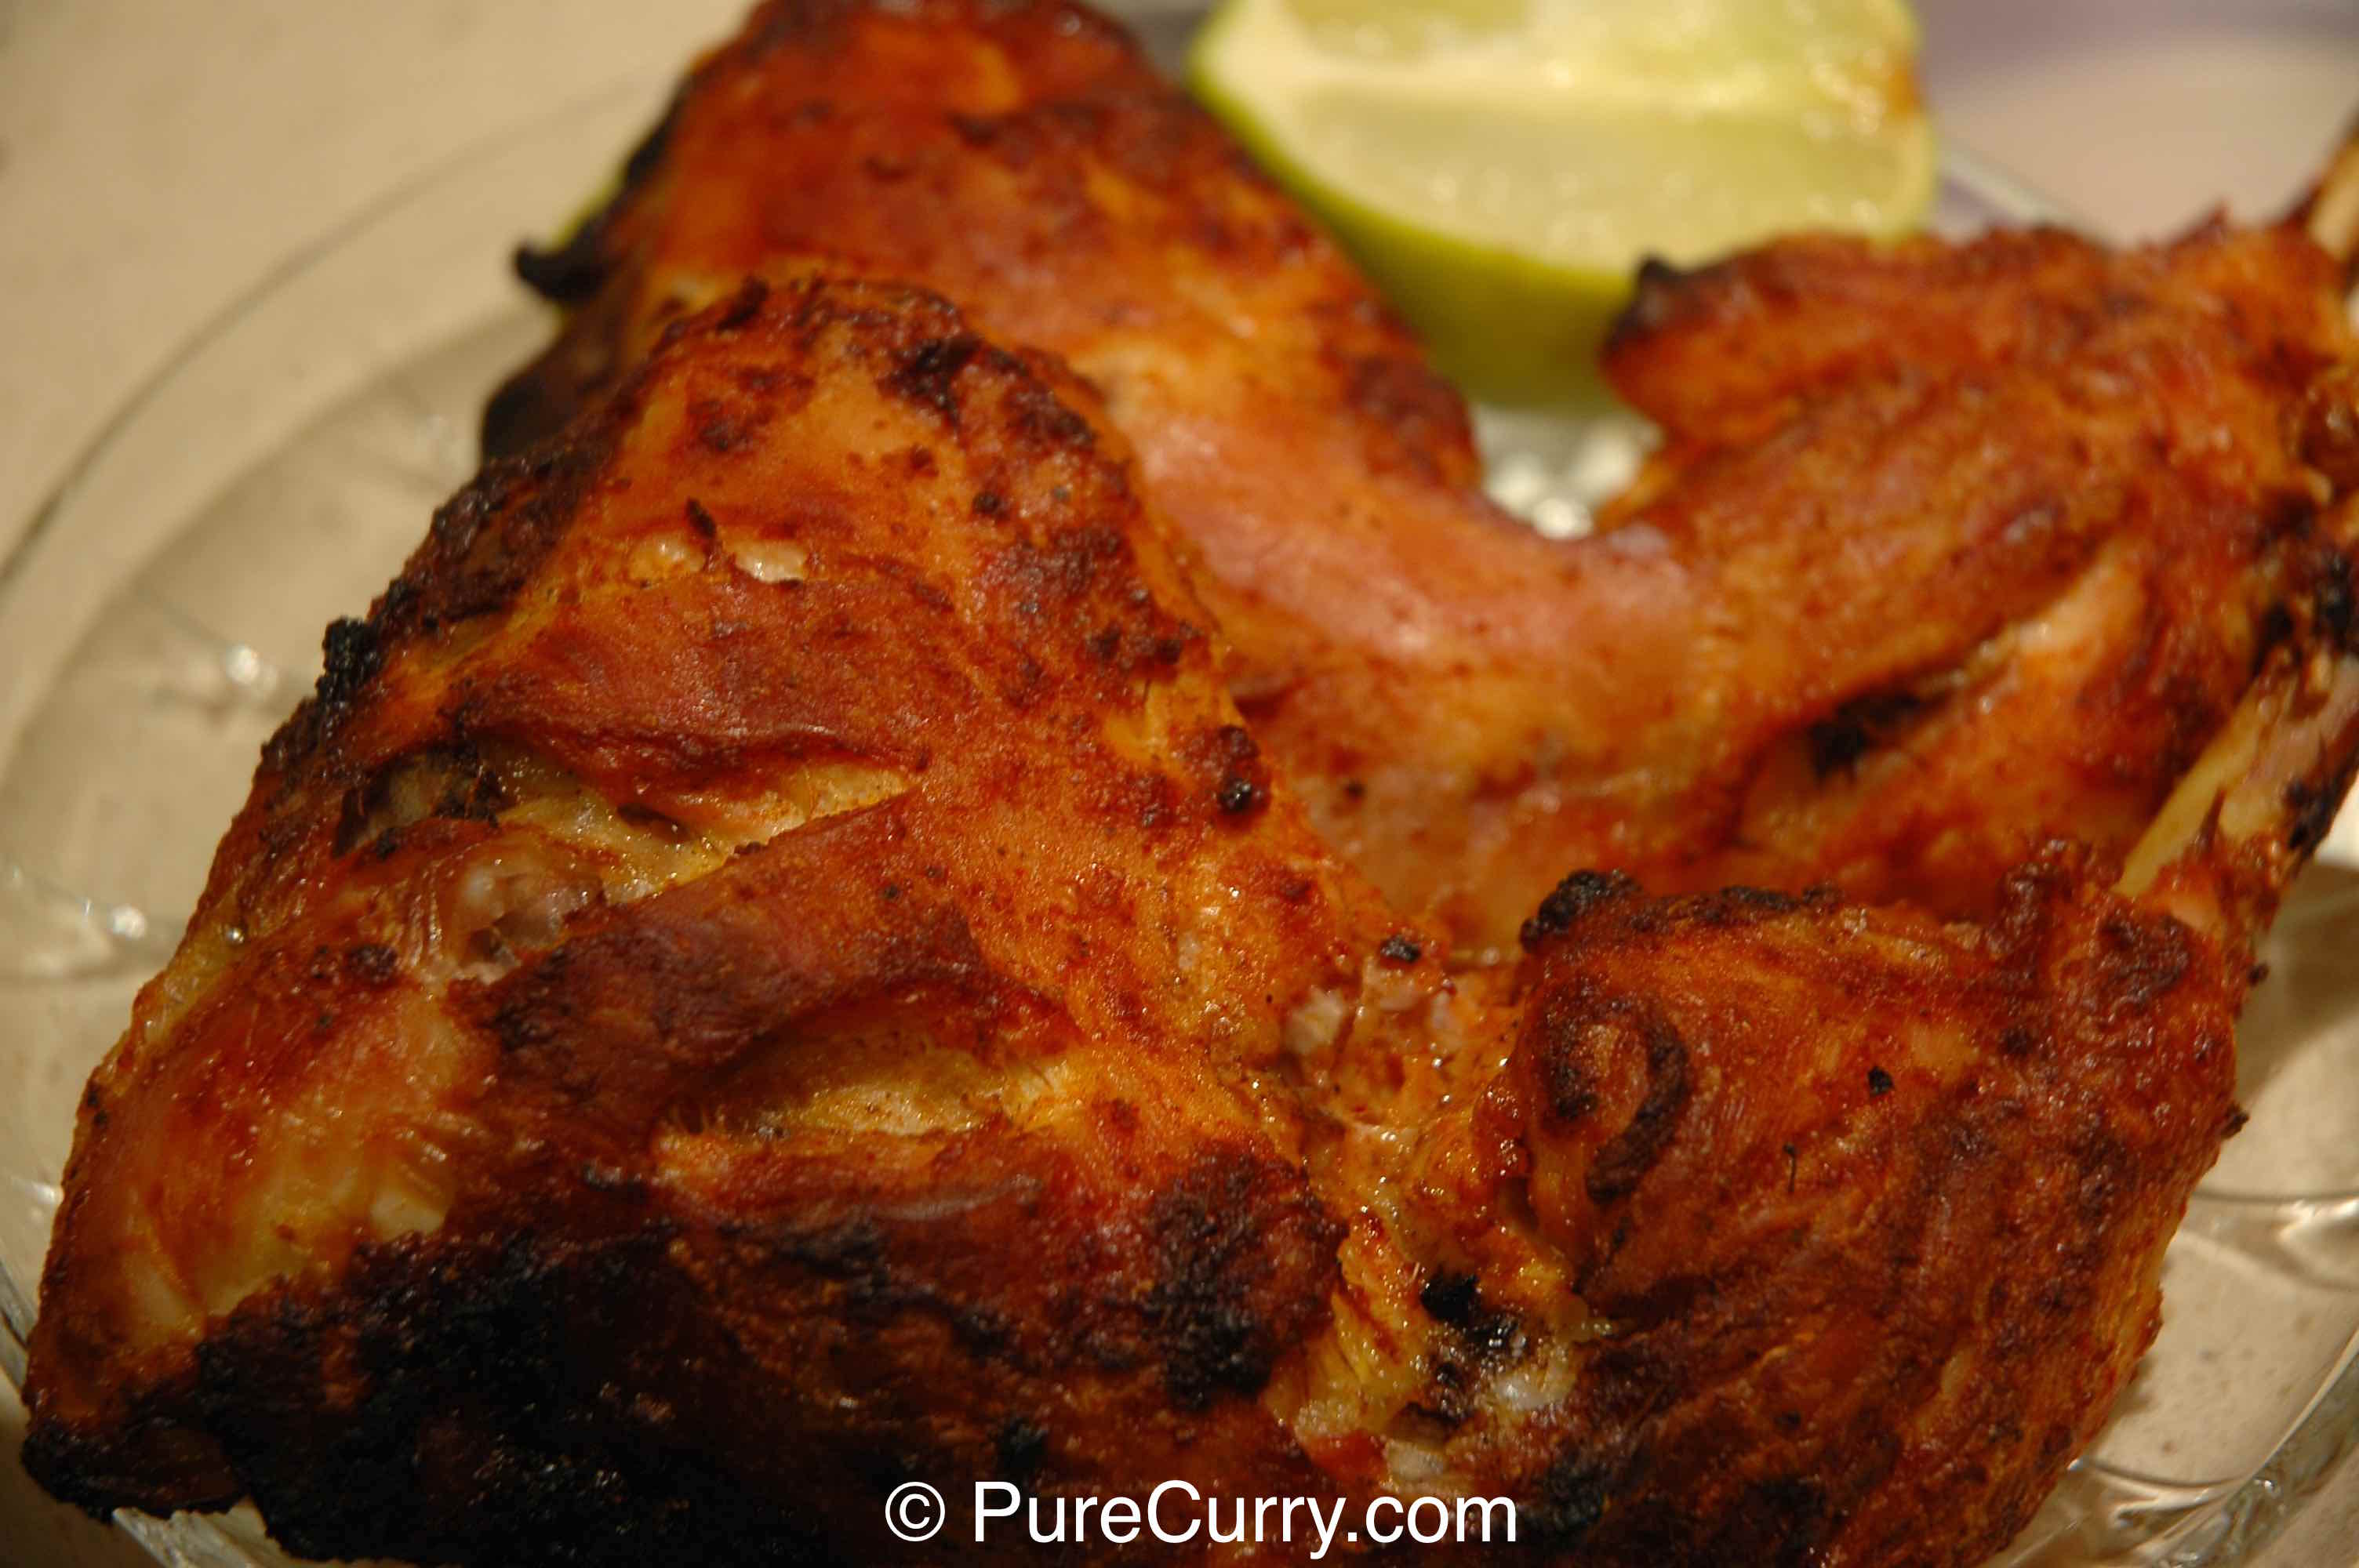
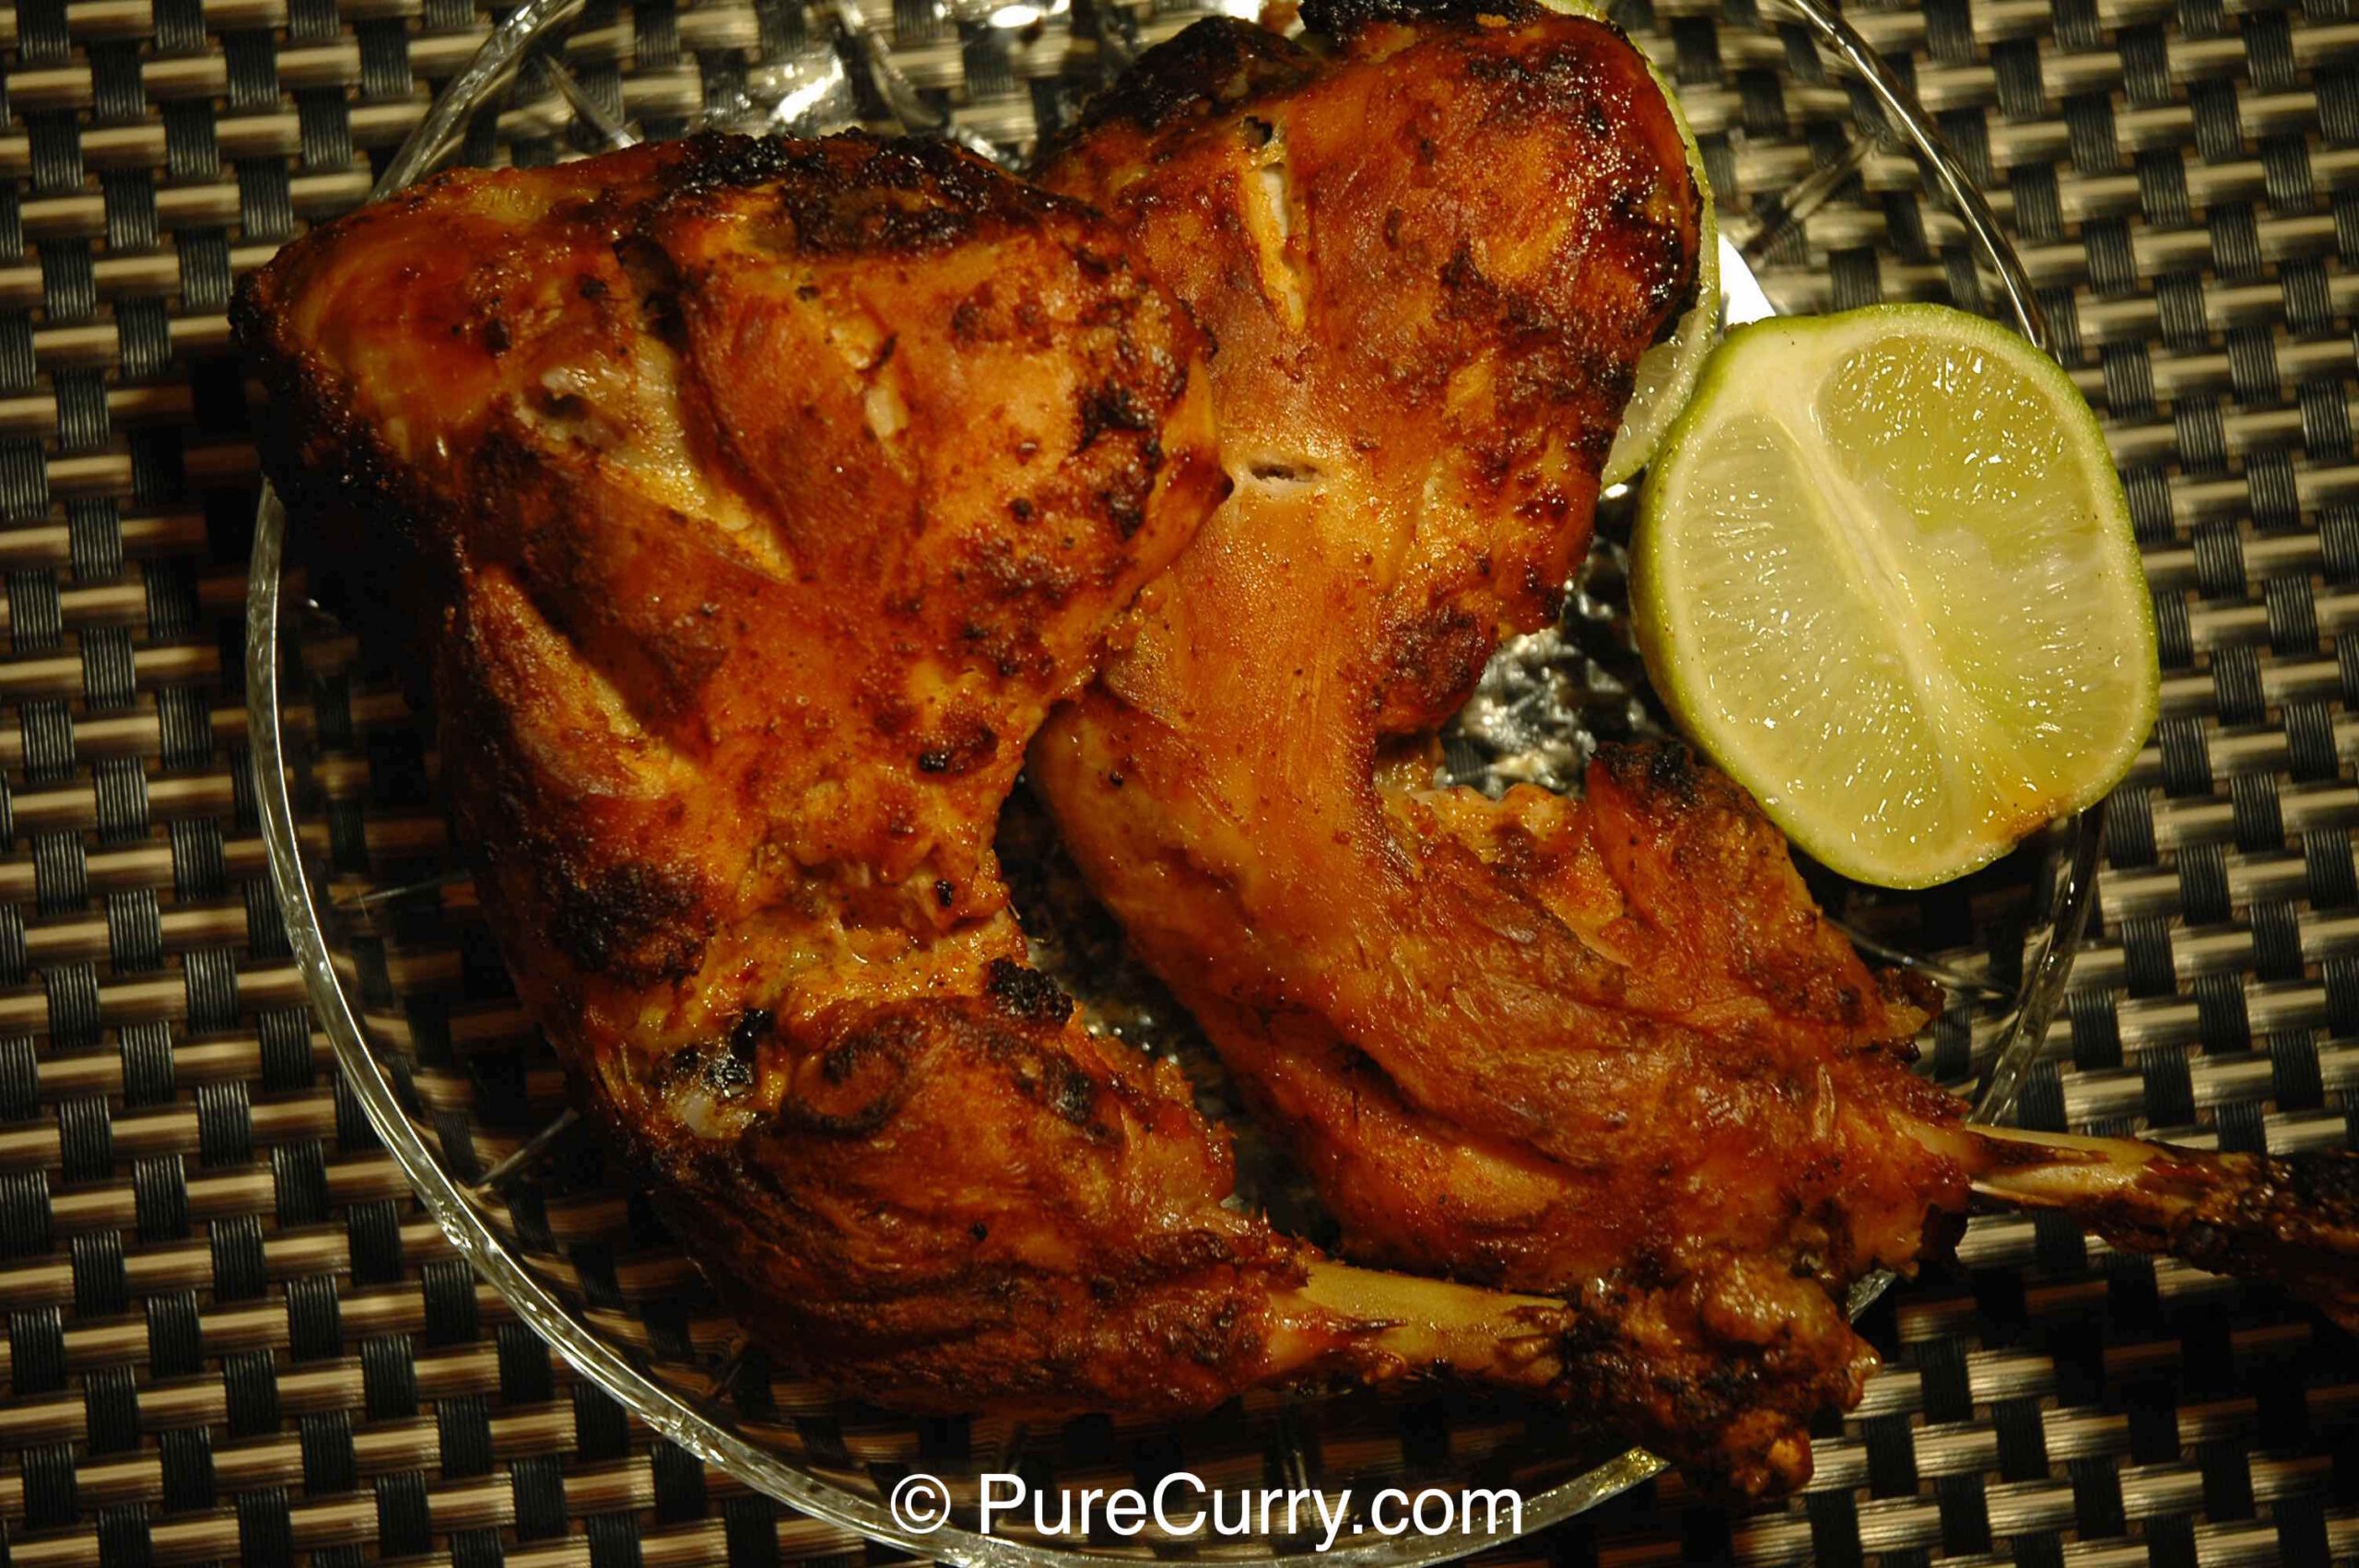
- The exterior should have slight charred spots.
- The chicken should look vibrant and slightly crisp at the edges.
Let it rest 5 to 10 minutes before serving so the juices redistribute.
Making Tandoori Chicken at home isn’t difficult – it just requires understanding a few key techniques such as layered marination, high heat cooking, and a proper broil finish.
Once you get those right, this dish becomes surprisingly approachable and incredibly satisfying to make.
Tandoori Chicken
Ingredients
- 4 Chicken leg quarters
- 1/2 cup Canola Oil or any other oil with a high smoke point such as Peanut or Avocado Oil
- 2 tsp Kashmiri Red Chili Powder or Smoked Paprika
- 1 tsp Garam Masala Powder
- 1/4 tbsp Lemon Juice
- 1 tbsp Ginger-garlic Paste
- 1/2 cup Greek Yogurt
- 2 tsp Salt
Method
- Remove the skin from the chicken leg quarters.
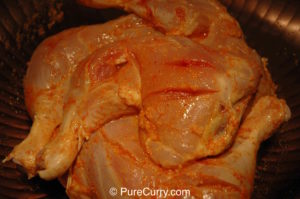
- Cut 3 slits on the thighs and drumsticks with a sharp knife. Make a cut in the join between the thigh and drumstick and cut the tendon (you’ll see it) at the bottom of the drumstick.

- These cuts are important to ensure that the spices get into the chicken and also cutting the tendon helps to cook the drumstick better and the meat comes off the bone easily, see the photograph.

- If you’re using plain yogurt instead of Greek Yogurt then you need to hang the yogurt in a cheese cloth for 20-30 minutes so you can get all the moisture out. You want to use a thick yogurt for the marinade.
- Mix 1/2 tbsp of Ginger-garlic Paste, 1 tsp Kashmiri Red Chili Powder, 1 tsp Salt in about 2-3 tbsp of Lemon Juice. Apply this to the chicken and let it sit in the fridge for about 20-30 minutes.
- In a large bowl combine the yogurt, 2 tsp Ginger-garlic Paste, 1 tsp Kashmiri Red Chili Powder, 1 tbsp Garam Masala, 1/2 tsp Salt and 1 tbsp Oil.
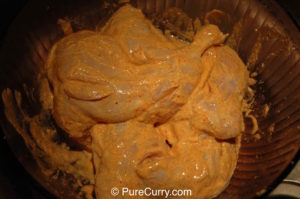
- Whisk all of these ingredients together so they are mixed well.
- Apply this marinade to the chicken, coating it well on both sides and especially make sure that the marinade gets into the cuts. Let the chicken marinate in the fridge for at least 2 hours; if I’m not in a hurry I usually let it marinate overnight.
- Line a broiler pan with aluminum foil and also the drip tray as it will make it easier for you to clean them when you’re done making the chicken.
- On the broiler pan make several slits in the aluminum foil right where the openings are on the broiler pan. This is required so that the juices drip onto the tray and makes it less likely that your chicken will catch fire when you’re broiling it. And more importantly, we're not looking to poach the chicken in the juices, we're going for the grilled taste.
- Place the marinated chicken leg quarters on the tray, applying a layer of oil on the pan where you place them. Also, brush some oil onto the top of the chicken.
- Put the tray with the chicken leg quarters into an oven pre-heated to 450 F.
- After about 15 minutes remove the chicken from the oven and brush oil onto the top side, turn it over and brush some oil on the other side as well and return the broiler pan into the oven.
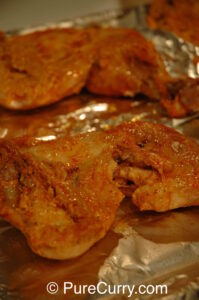
- Bake it for another 15-20 minutes, watching the chicken so that it does not overcook and then take the chicken out of the oven and give it another brushing of oil.
- Change your oven’s setting to broil and then put the broiler pan into the broiler tray and broil for about 6-10 minutes. Check it after about 5 minutes to ensure that it has not charred too much. You want to broil it to get the distinct tandoori flavor with some char on the flesh and the appetizing color.
- Remove the chicken from the broiler and serve right away with lemon wedges. Tandoori Chicken also goes very well with Green Chutney.

Nutrition
Notes
- The first marinade (lemon juice, salt, and spices) directly seasons and tenderizes the chicken. This helps the flavors penetrate more deeply into the meat.
- The second marinade (yogurt, spices, and oil) builds richness and forms the flavorful coating that creates the classic tandoori crust when cooked at high heat.
- 1 tbsp Ginger-Garlic Paste
- 2 tsp Kashmiri Red Chili Powder
- 1 tbsp Garam Masala
- 1 ½ tsp Salt
- 2-3 tbsp Lemon Juice
- 1 tbsp Oil
- ½ cup Yogurt
Private Notes
Tried this recipe?
Let us know how it was!

Leave a Reply