
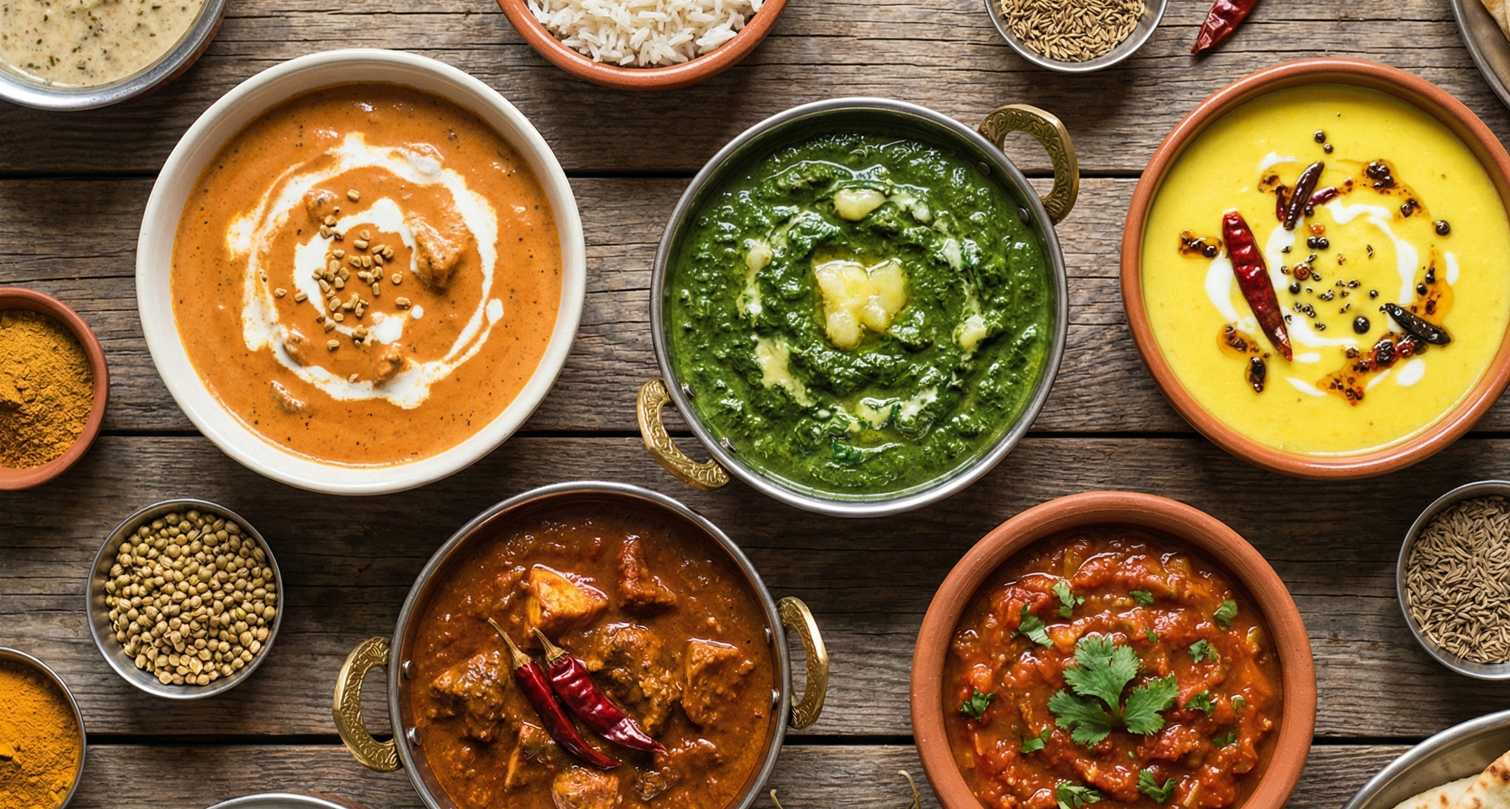
Welcome to The Decoding Dal Series, a deep dive into the heart of the Indian pantry.
Aligned with Pure Curry’s philosophy of Learn. Create. Savor., this three-part series explores the science and soul of lentils, beans, and pulses. Whether you are confused by the grocery aisle or struggling to get the perfect texture, we are breaking it down step-by-step:
Part 1 (Learn) – Types of Indian Lentils Explained: Decoding the taxonomy, names, and processing methods of Indian legumes.
Part 2 (Create) – How to Cook Dal Properly: The Science of Soaking, Salt, and Heat.
Part 3 (Savor) – Tadka Explained: The alchemy of flavor, exploring Tadka, the Maillard Reaction, and smoking techniques.
We’ve all been there. You follow the recipe exactly, boil the chickpeas for what feels like days, and yet… they are still crunchy. Or maybe, you look away for ten minutes and your red lentils have turned into soup.
In Part 1, we talked about what dal is. In Part 2, we’re talking about how it behaves when you cook it and how to stay in control.
Cooking dal isn’t magic. But it also doesn’t require a science degree. Once you understand a few simple ideas – water, timing, and when to add certain ingredients, you’ll stop fighting your pot and start getting consistent results.
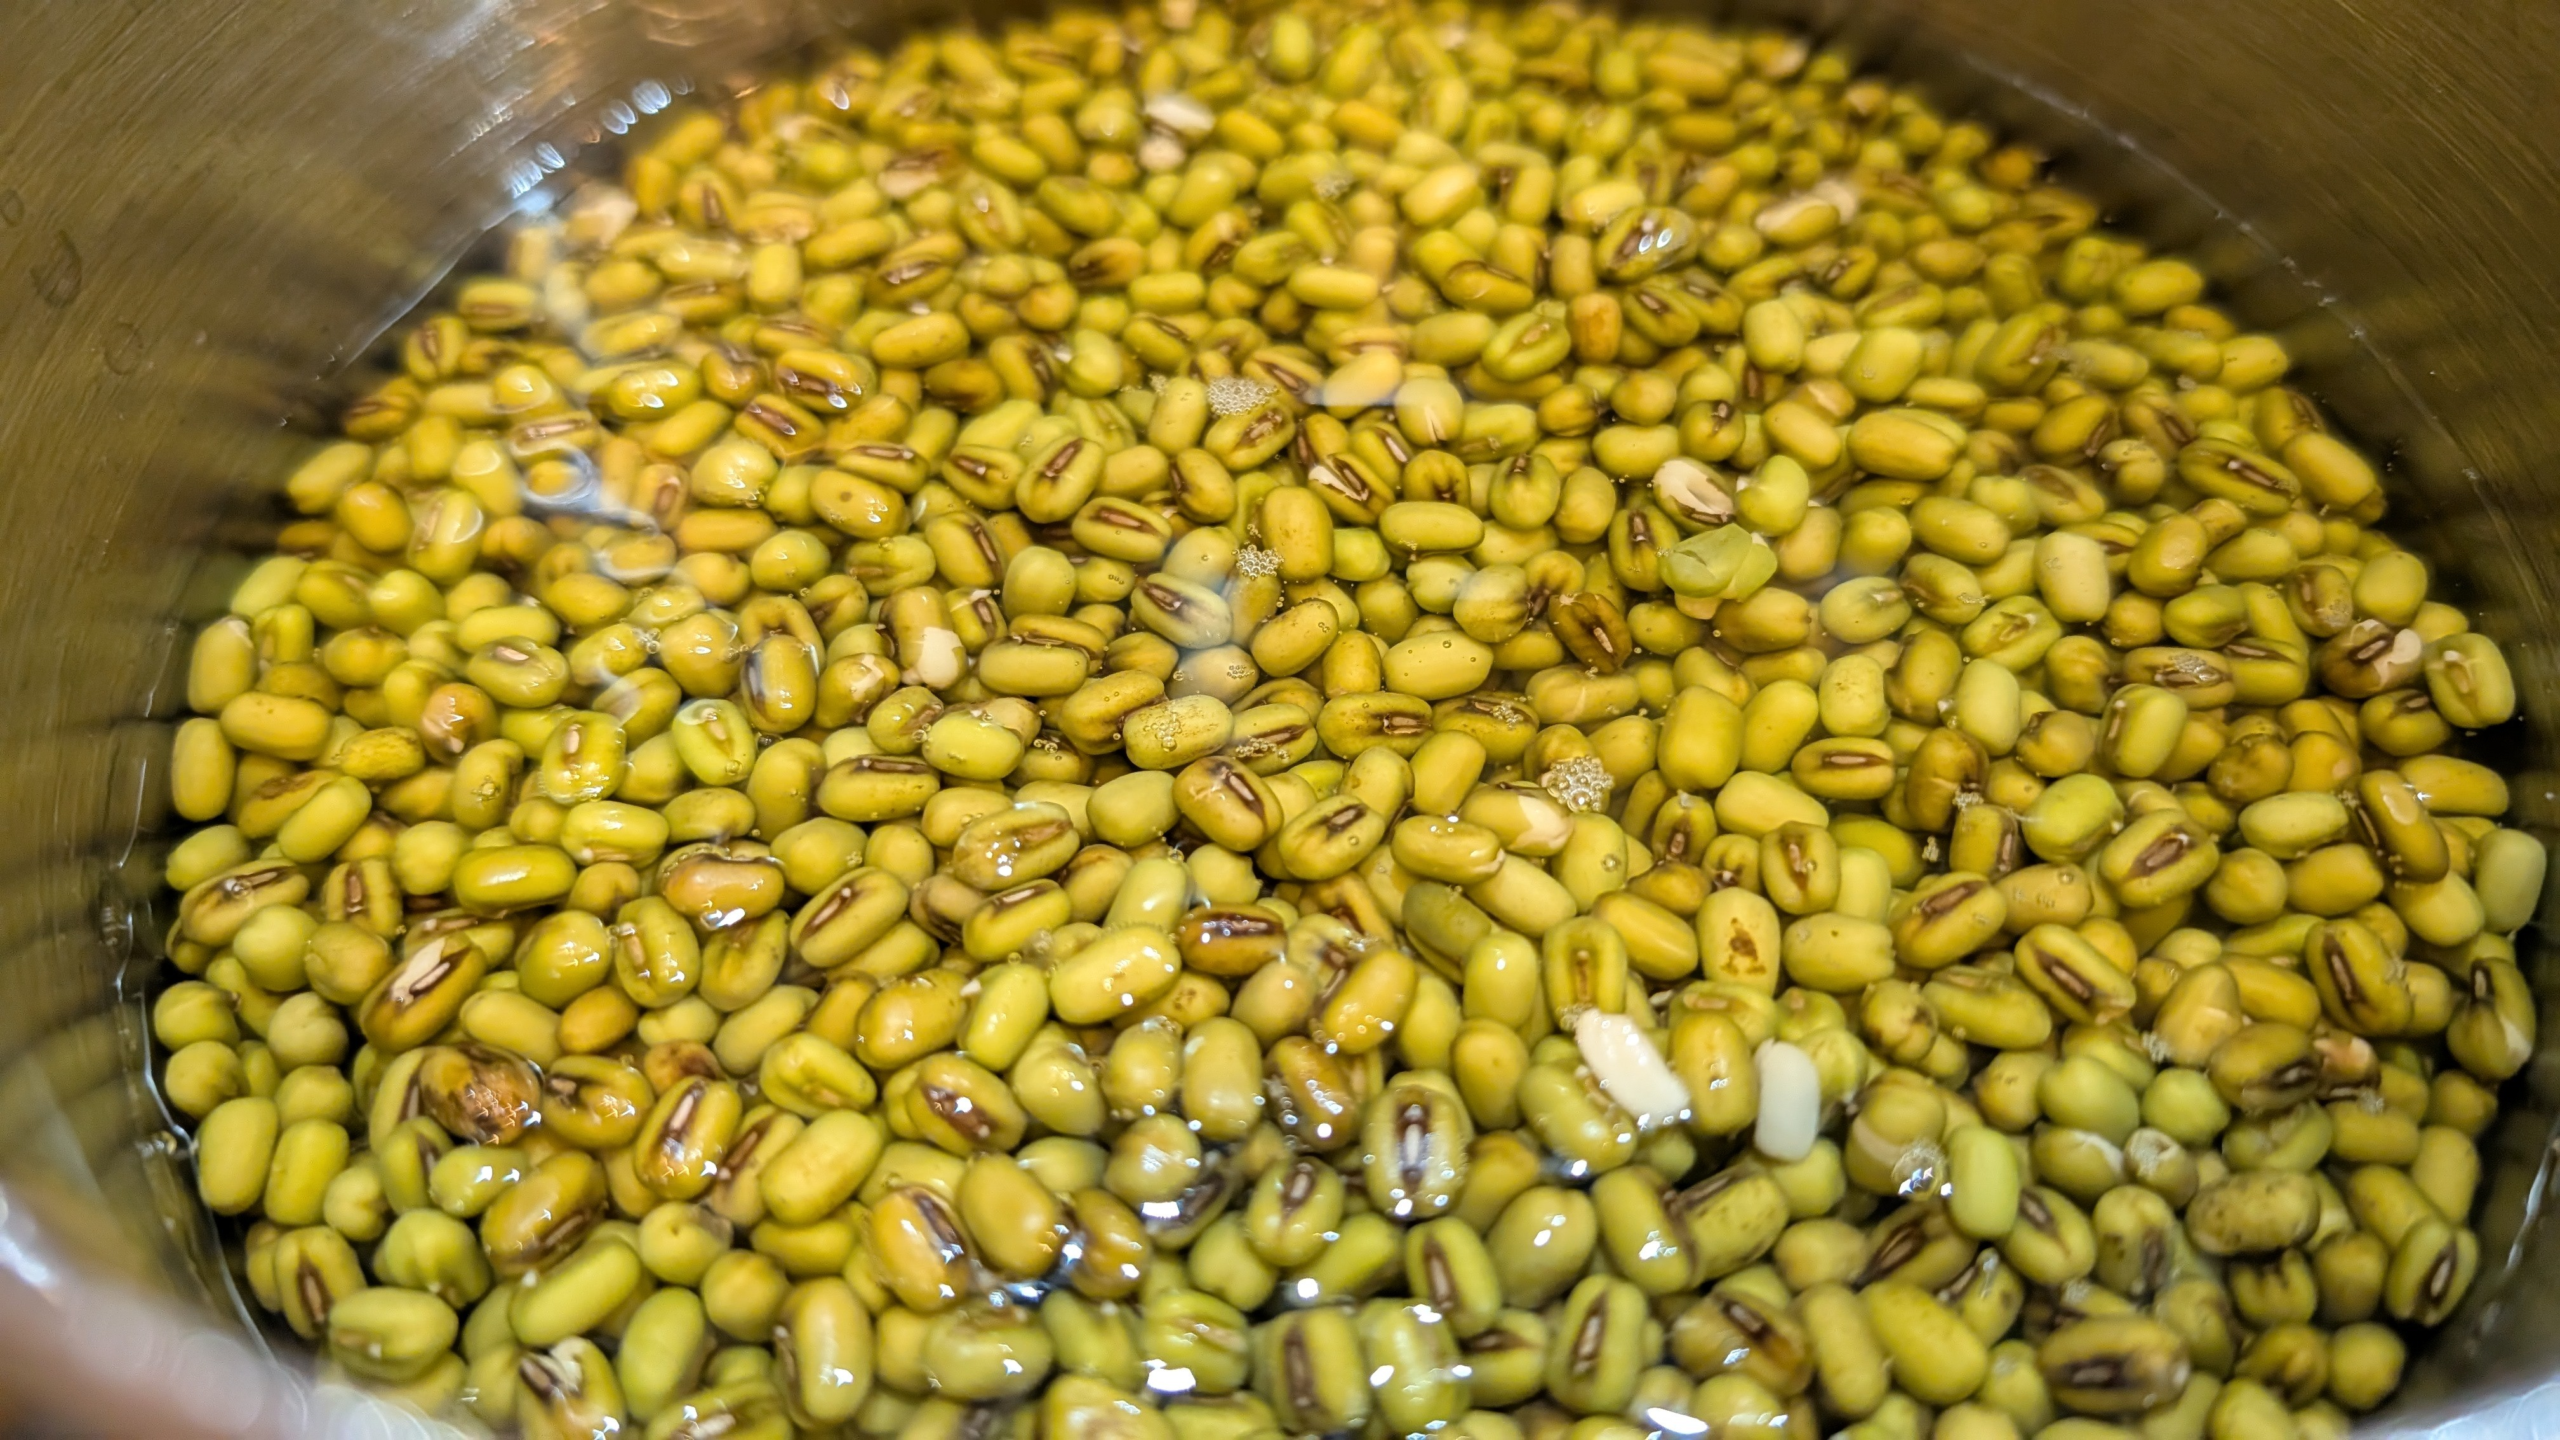
Soaking Dal: It’s About Water, Not Just Time
Most recipes say, “Soak to cook faster.” While that is true, soaking does much more than save time.
Dried beans and lentils are basically sleeping seeds. They’re hard, tight, and dehydrated. Soaking wakes them up by letting water slowly move into the center.
The key difference comes down to how protected the seed is. In scientific terms, their cell structures are collapsed and hard. Soaking allows water to penetrate the seed coat and reach the cotyledon inside, hydrating the starch granules in the seed before heat is applied.
Whole Beans vs. Split Dals
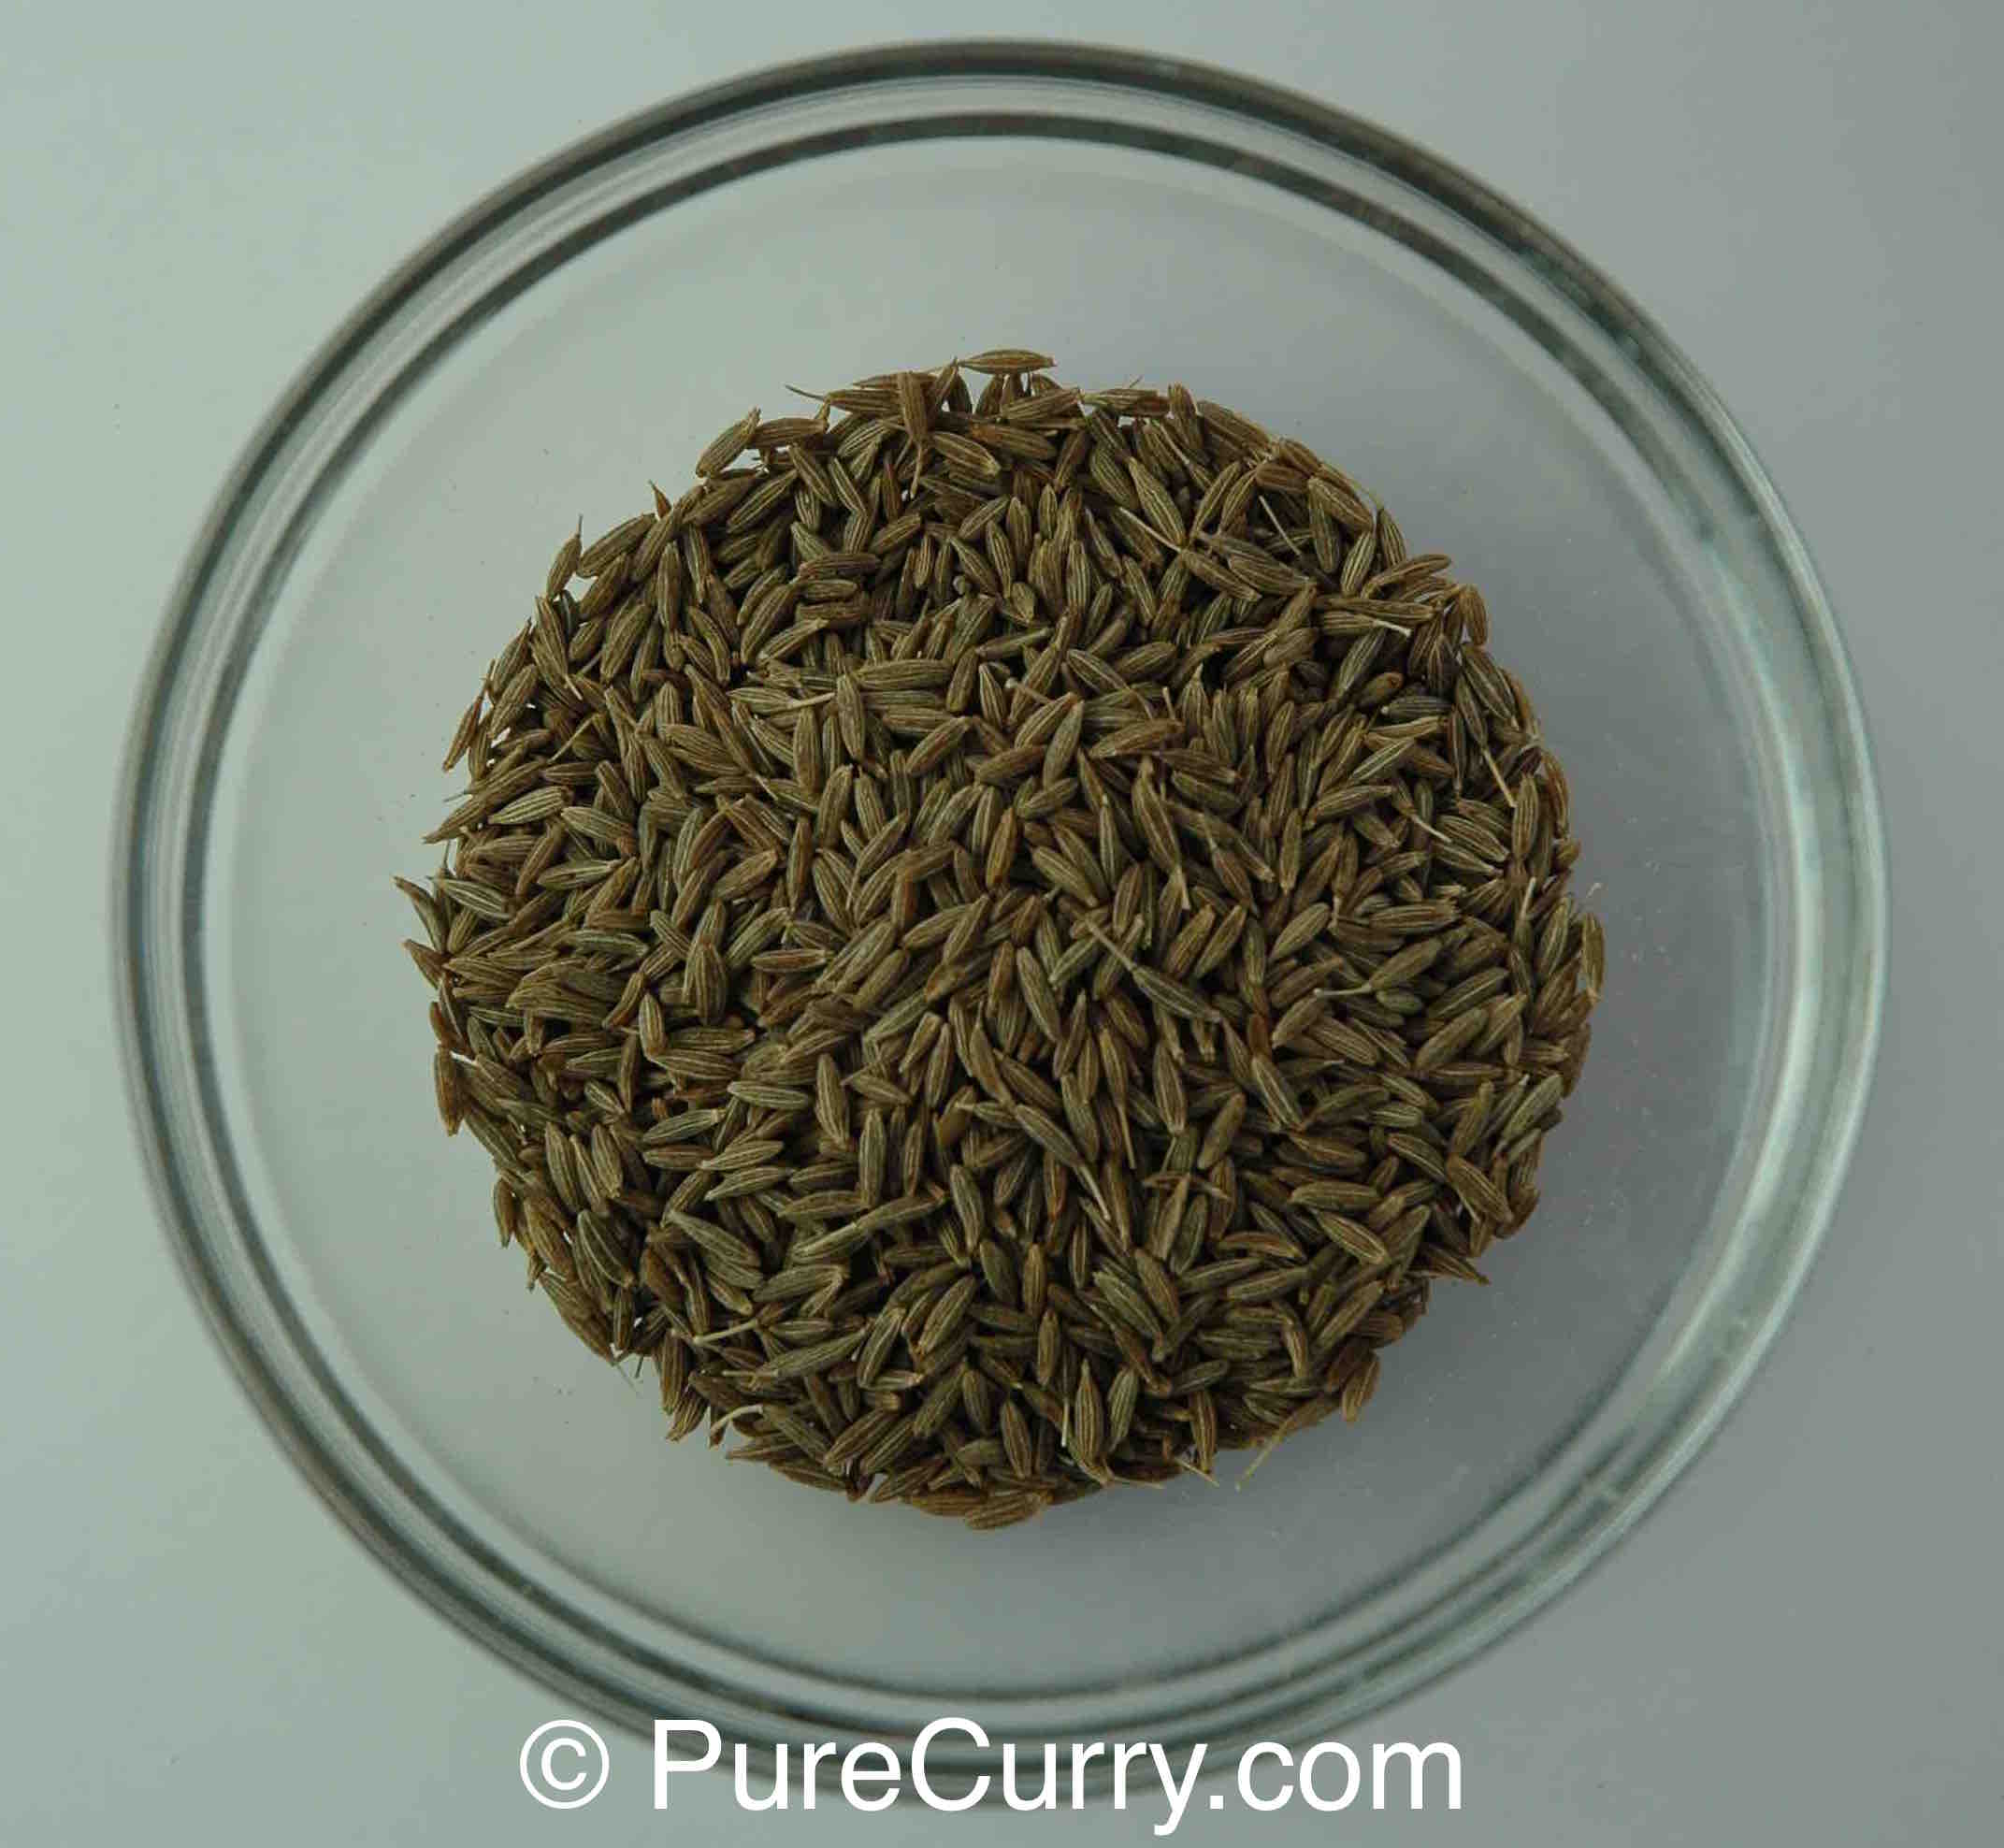
Whole Beans (Rajma, Chana): They have a thick outer skin and it takes time for water to get through. So they need to be soaked for 8 to 12 hours.
Split Dals (Moong, Masoor): Their skin is cracked or removed and so water reaches the inside easily. So they need only 15 to 30 minutes of soaking.
Soaking is about letting water do its job before heat is involved. Soaking can be speeded up with heat, but there is a trade-off.
Cold Soak vs. Hot Soak: What’s the Difference?
The Cold Soak (best results, most reliable)
How:
Soak beans in cool or room-temperature water for 8 to 12 hours.
Why it works:
Water enters slowly and evenly. The outside and inside soften together, so the beans cook evenly later.
Best For:
If you plan ahead, this is your best option for whole beans, hot kitchens (prevents souring) and when texture really matters.
The Quick Hot Soak (When you forgot to plan!)
How:
Bring beans and water to a boil for 2 minutes, turn off the heat, cover, and let sit for 1 hour.
Why it Works:
Heat increases the kinetic energy of the water molecules, forcing them through the seed coat rapidly. It can achieve in 1 hour what cold water does in 8.
The Downside:
The outside can soften faster than the inside. Sometimes the skins burst while the center stays firm. It results in a slightly uneven cooked texture compared to the cold soak.
Best For:
This is best for emergency situations when you’re not concerned about how appearance and perfection. Use for hearty beans like Chickpeas (Kabuli Chana) or Kidney Beans (Rajma) when you are short on time.

A Simple Hack for Split Dals
For delicate dals like Toor or Split Moong, a 20-minute soak in warm tap water is the sweet spot. It softens them just enough to reduce cooking time without turning them into mush. Think of it as taking the edge off, not fully soaking.
Soaking Beans Makes them more Digestible
The biggest barrier to eating beans is digestibility. Beans have a reputation for causing gas and there’s a reason. They contain natural sugars (Oligosaccharides) and compounds that our bodies can’t fully break down, so they ferment in our gut, causing bloating and gas. Soaking helps because those compounds dissolve into the water.
Soaking leaches a significant amount of these compounds out of the bean and into the water.
👉Important rule: Always discard the soaking water and rinse the beans. If you cook them in the soaking water, you are putting back the very compounds you tried to remove.
This single step makes a noticeable difference for many people.
When Beans Refuse to Soften: the usual culprits
If your dal stays hard no matter how long you cook it, it’s almost never the bean’s fault. It’s usually something in the cooking environment.
Enemy #1: Acid (added too early)
Acidic ingredients like tomatoes, tamarind, kokum, lemon juice, and amchur are great for flavor, but terrible for softening beans.
Why:
Acid tightens the structure of beans, making them stubborn and resistant to cooking.
👉Important Rule: Acid is for flavor, not cooking. Cook beans until soft first. Always add acidic ingredients after the beans are fully soft.
🧪The Science: How Acid Impacts Dal Texture
Legume cell walls are held together by pectin and hemicellulose. In an acidic environment (low pH), pectin molecules bond more tightly together. They refuse to dissolve, locking the bean in a state of permanent crunchiness.
Enemy #2: Hard Water
If you live in an area with hard water, meaning water that is high in the minerals calcium and magnesium, the beans can stay firm for a very, very long time! This is the same reason pickles stay crunchy — those minerals reinforce structure.
What helps:
If you have very hard water, add a tiny pinch of Baking Soda (sodium bicarbonate) to the cooking water.
⚠️Warning: Use sparingly, or the lentils will turn mushy and taste soapy.
🧪The Science: How Baking Powder Works
The calcium and magnesium ions in hard water act like “cement” for the cell walls. They cross-link with the pectin (similar to how calcium chloride is used to keep canned pickles crisp), preventing the bean from softening. The alkalinity of sodium bicarbonate weakens the pectin bonds, helping the beans soften dramatically faster.
The Salt Question
Does salt make beans tough? Not really, because while salt may slow water absorption slightly, it’s nothing compared to acid or hard water. Salting the soaking water (brining) actually helps the skin stay intact while the inside softens, which is great for salads but less important for dal.
So don’t stress about salt. Stress about acid timing instead.
Why Pressure Cookers Win (and always will)
A pressure cooker isn’t just faster — it’s hotter. In an open pot, water boils at 100°C / 212°F, but in a pressure cooker, water gets much hotter.
That extra heat breaks down tough bean structure far more effectively, especially for Red Kidney Beans (Rajma), Chickpeas, and Black Chana.
🧪The Science
When you seal a pressure cooker, steam builds up, increasing the pressure inside. This higher pressure raises the boiling point of water above 100°C (212°F), which lets the water get hotter than it would in a regular pot. The extra heat breaks down the tough fibers and starches in beans much faster, turning them tender without overcooking the skins.
Essentially, a pressure cooker speeds up the chemical “softening” reactions that normally take hours.
Affiliate link – learn more

The Simple Takeaway
If you remember nothing else, remember this:
Soak to let water in.
Discard the soaking water.
Add Salt early for flavor (it’s fine!).
Add Acid only after the beans are completely soft.
Use Pressure when beans are stubborn.
Use an Open Pot for delicate split lentils (like Moong Dal) to prevent them from disintegrating.
That’s not chemistry. That’s good dal sense.
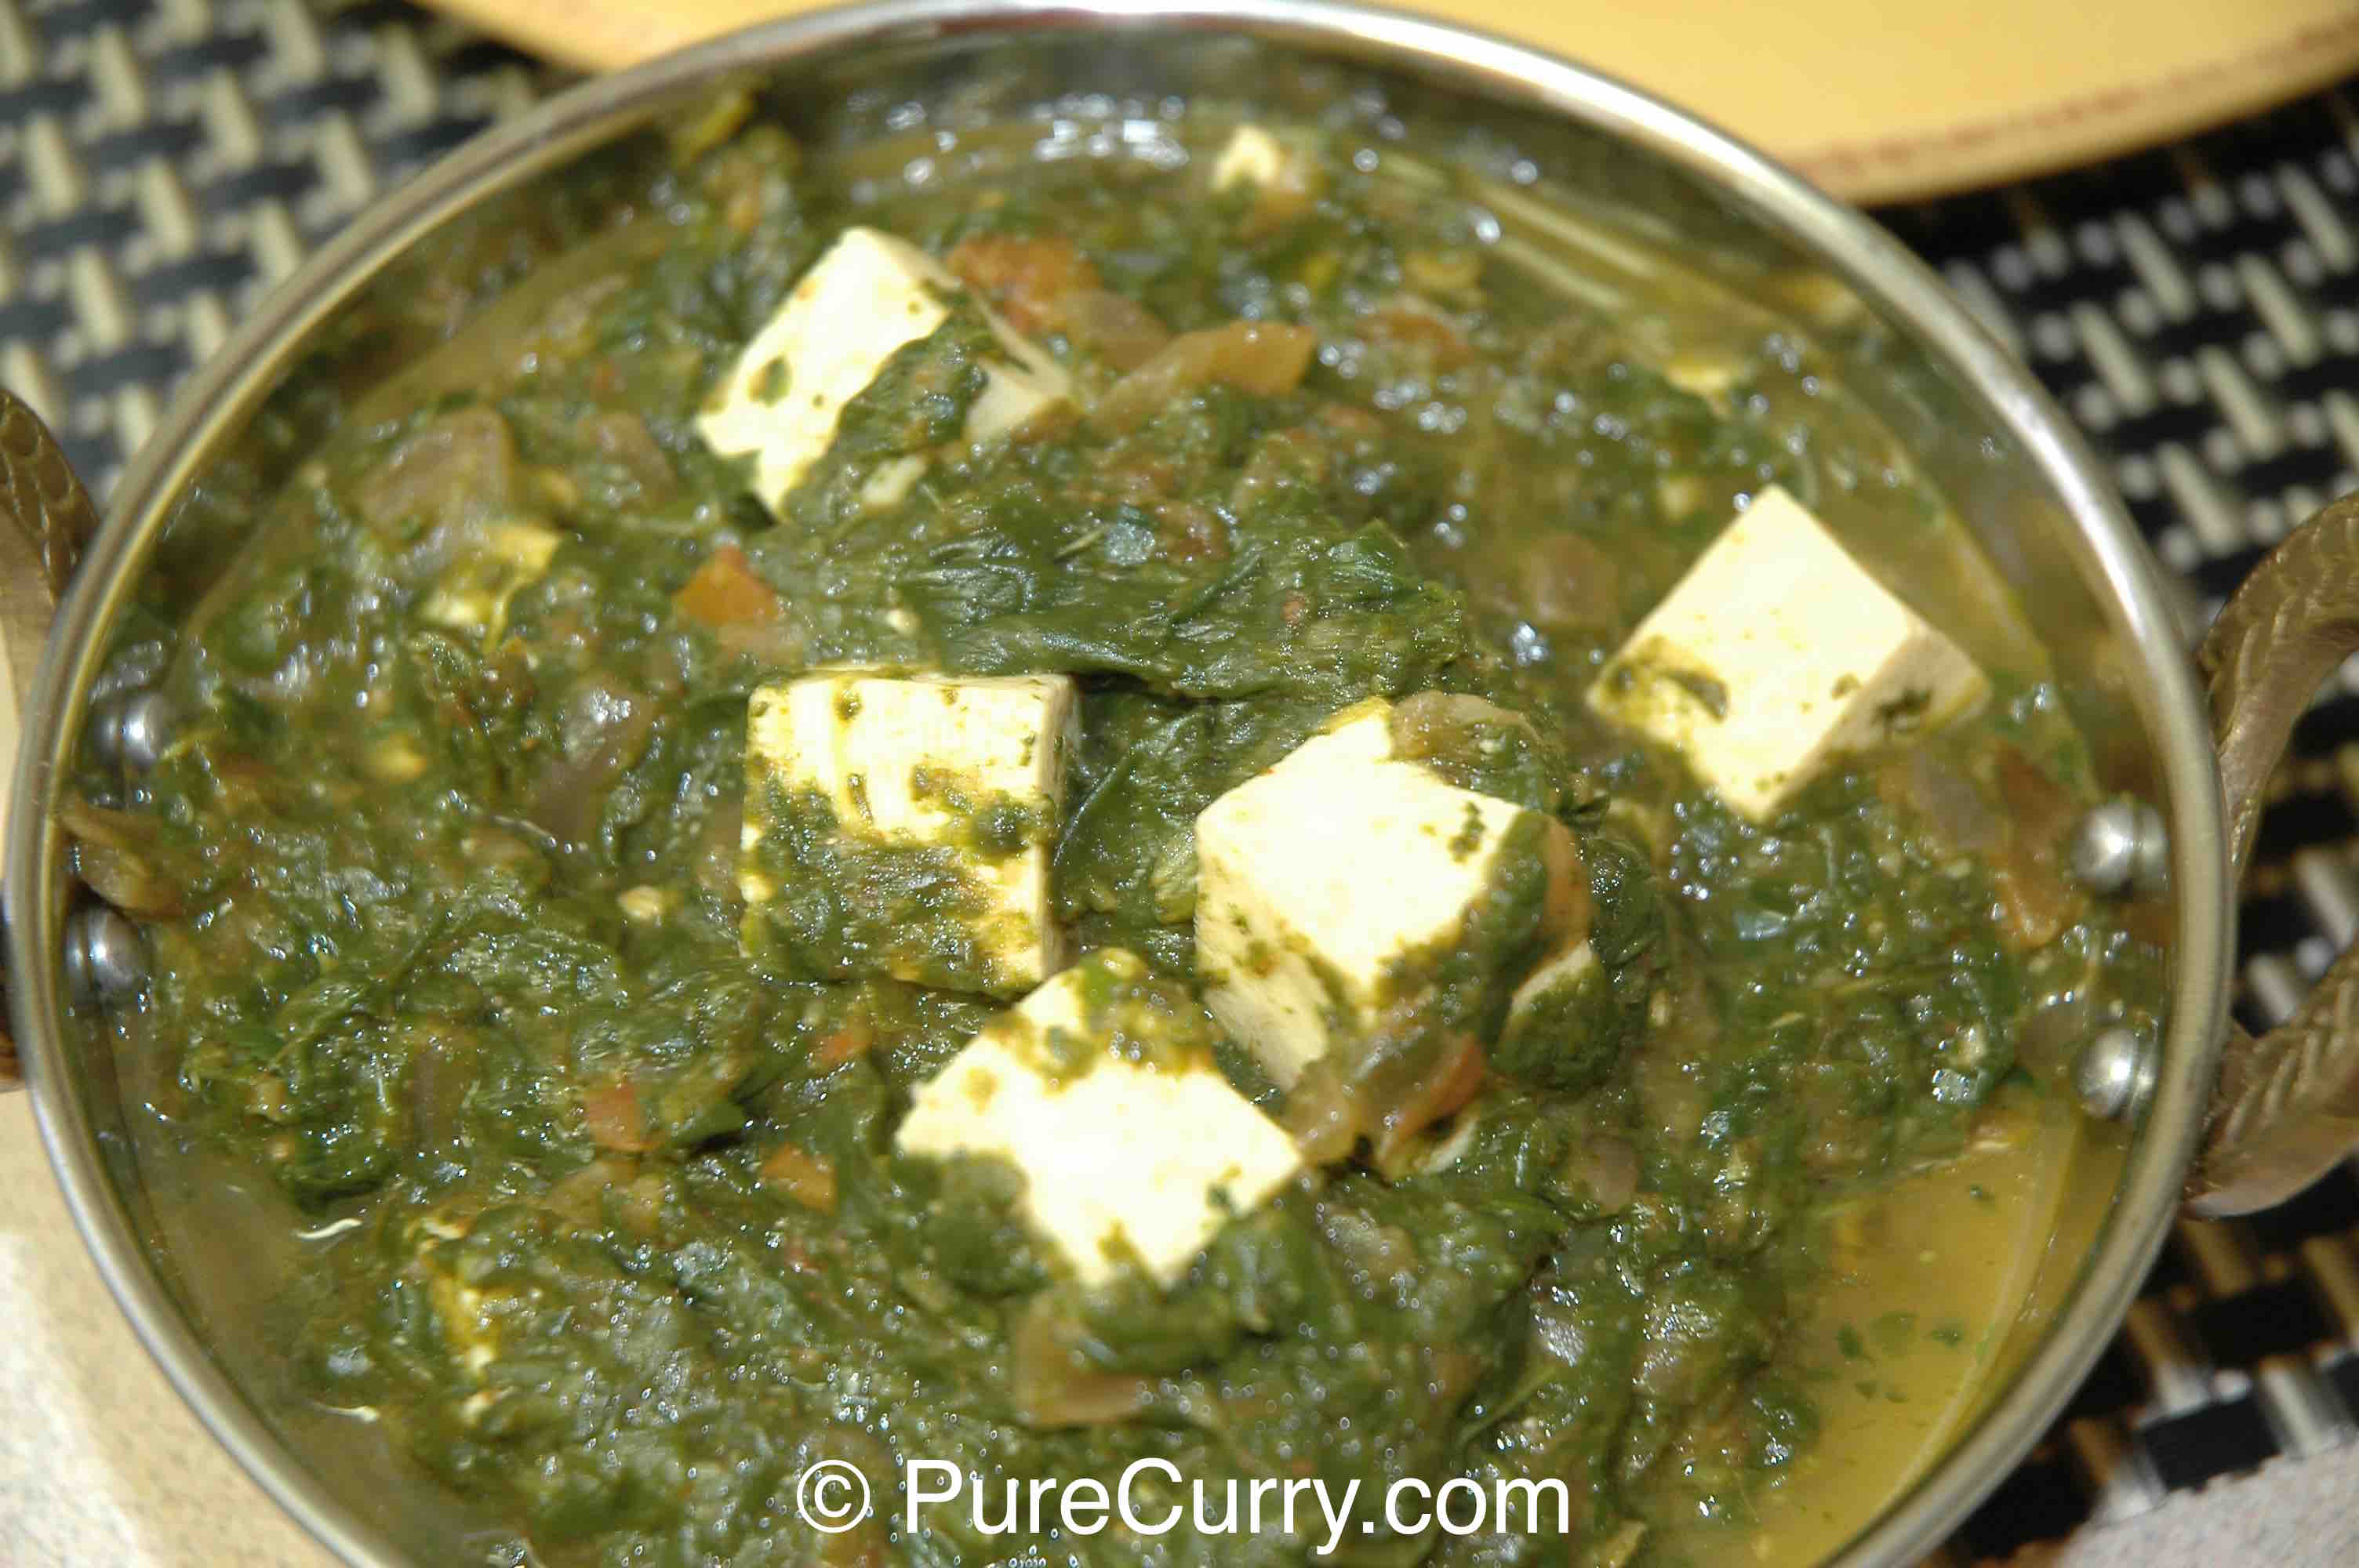
You now have a pot of perfectly textured, fully cooked lentils. But if you taste it right now, it’s probably a bit… boring. To transform a simple bowl of starch into a delicious meal, we need to master the art of tempering.
In the final chapter of this series, Part 3: Tadka Explained, we explore the alchemy of flavor, from the sizzling science of Tadka to the smoky magic of Dhungar.
Leave a Reply