
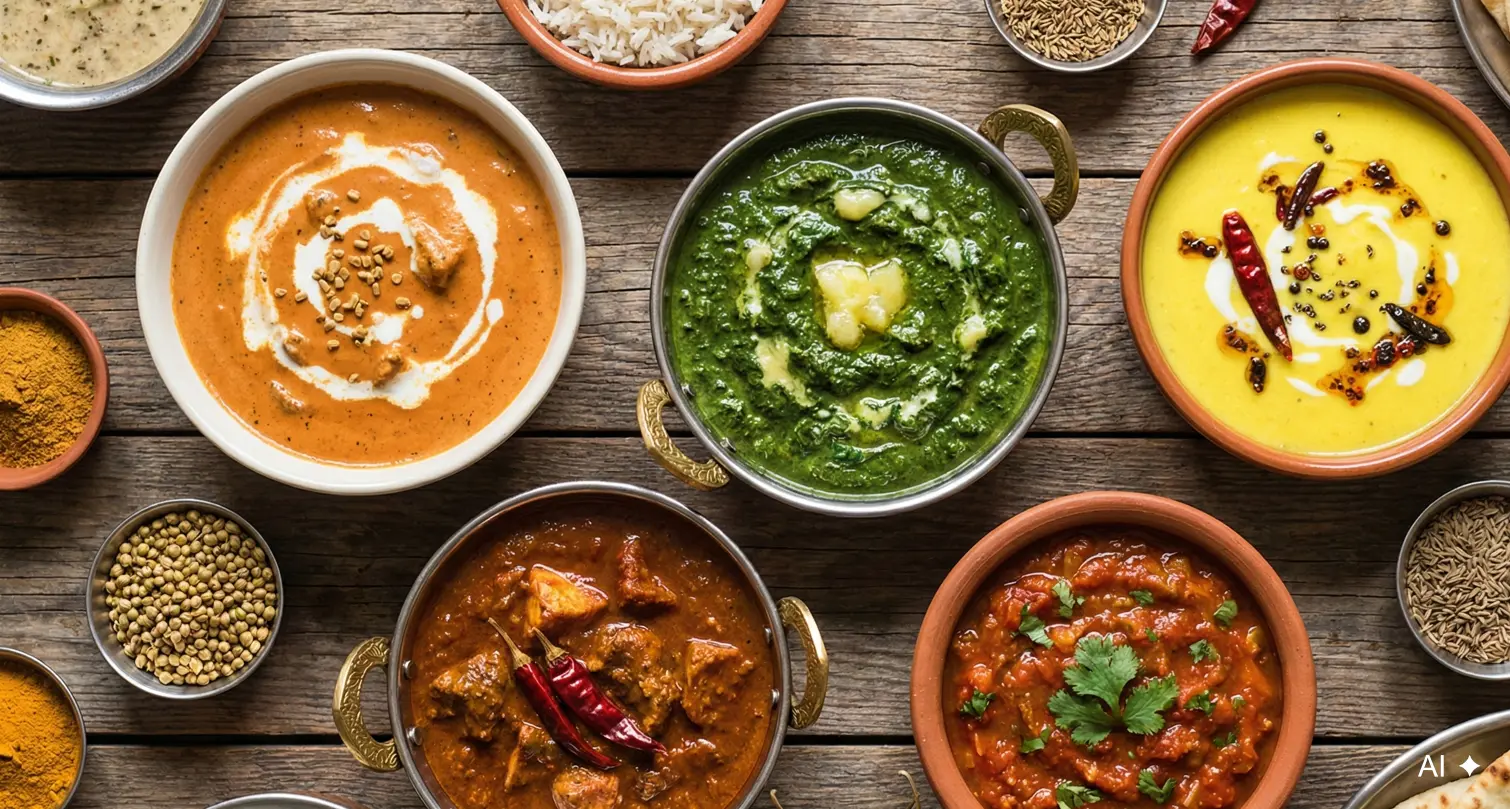
In the Science of Saag series, we take a deep dive into one of the most versatile dishes in Indian cuisine. In this three-part series, we look beyond the recipe card to understand the science behind leafy greens. We travel from the garden to the kitchen to the dining table, exploring how to choose the right greens, the chemistry of keeping them vibrant and flavorful, and how to turn a single base into a variety of delicious meals.
Part 1 (Learn) – Beyond Spinach: Understanding Saag Greens and Their Nutrition.
Part 2 (Create) – Green Chemistry: The Science of Cooking Saag.
Part 3 (Savor) – Saag: The Foundational Sauce: Building Flavor from a Simple Green Base.
In Part 1 (Learn): Beyond Spinach, we focused on choosing the right greens and understanding their roles in saag. Now it’s time to bring those leaves to the stove.
Cooking saag is less about following a recipe and more about managing change. You start with a towering pile of raw, bitter greens and end with a small pot of soft, creamy, mild saag. That transformation happens through three key processes:
- Reducing volume
- Managing color
- Balancing flavor
Once you understand these, saag becomes predictable—and forgiving.
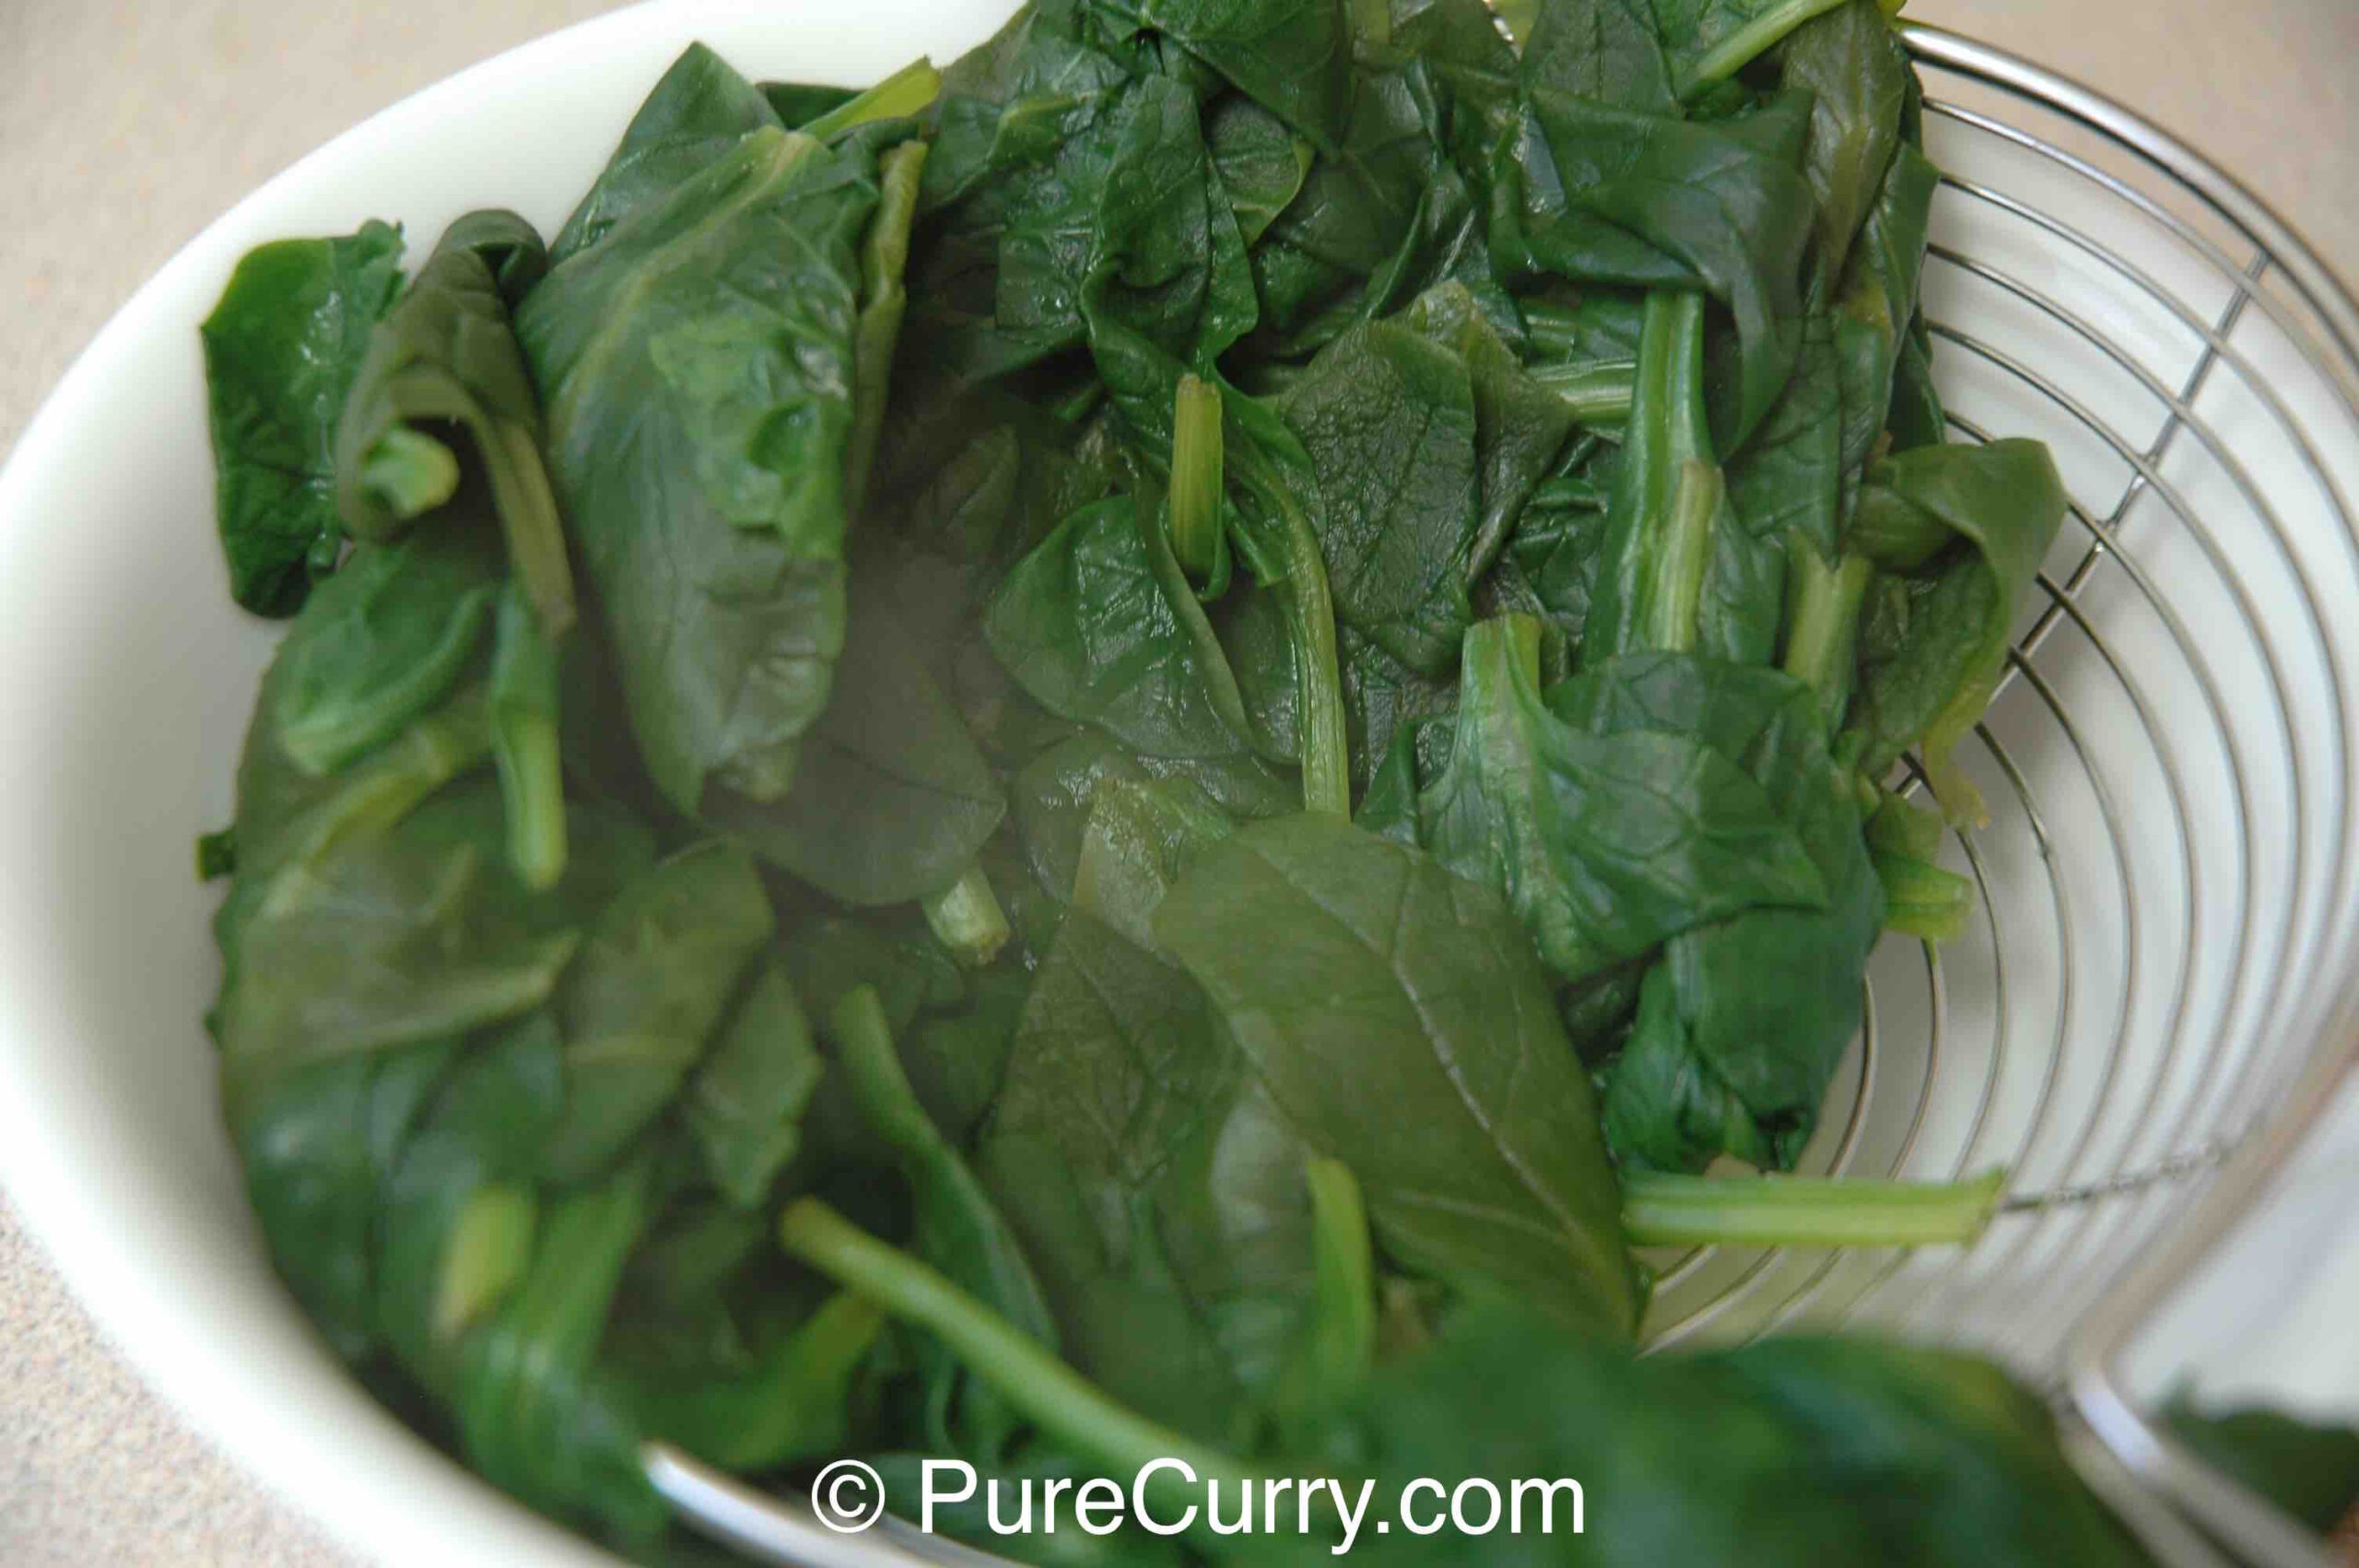
Wilting: Turning a Mountain into a Meal
Anyone who’s cooked saag for the first time has had the same moment of disbelief: How will all of this possibly fit?
Leafy greens are incredibly voluminous. A sink full of spinach or mustard greens might look excessive, but once cooked, it yields surprisingly little.
That’s because greens are more than 90% water. Heating them weakens their structure, releasing that water as steam and collapsing the air trapped between the leaves. The result is a dramatic reduction in volume.
How to Wilt Greens Properly
- Cook in batches
Don’t force all the raw greens into the pot at once. Add a handful, let it wilt for about 30 seconds, then add more. As the greens collapse, space frees up naturally. - Decide on your final texture
Once fully cooked, you have options:- For a rustic, traditional texture, finely chop the greens.
- For a smooth, restaurant-style saag, puree them using a blender or immersion blender.
At this stage, you’re not building flavor yet – you’re preparing the greens so they’re ready to absorb it.
🧪The Science: Why Greens Shrink So Dramatically When Cooked
Leafy greens are mostly water—often more than 90%. That water is trapped inside plant cells, which are supported by rigid cell walls and filled with air pockets.
When greens are heated, those cell walls weaken and collapse. Water escapes as steam, air pockets disappear, and the leaves lose their structure. What looked like a mountain of greens quickly becomes a small, dense mass.
The shrinkage is normal. Always start with more greens than you think you need.
Retaining the Green Color
One of the most common questions home cooks ask is: “Why did my bright green saag turn olive-brown?”
The answer isn’t skill, it’s just chemistry.
Why Greens Lose Their Color
The green color in leaves comes from chlorophyll. When greens are heated, natural acids inside the leaves are released. These acids change the structure of chlorophyll, shifting its color from bright green to a dull, olive tone.
This reaction is natural and unavoidable in long-cooked dishes—but it can be managed.
How to keep Saag Green (as much as possible)
You can’t completely stop color change, but you can slow it down:
Leave the pot uncovered at first:
When greens are first added, cook them uncovered. This allows volatile acids to escape with the steam. Covering the pot traps those acids, speeding up browning.
🧪The Science: Why Covering the Pot Turns Greens Brown Faster
As greens cook, they release natural acids. If the pot is covered, those acids condense on the lid and drip back into the food, accelerating color loss.
When the pot is left uncovered, acidic vapors escape with the steam instead of staying trapped.
Cook greens uncovered at first to slow browning. Once the leaves are wilted and stable, covering the pot is fine.
Add acidic ingredients at the end:
Tomatoes and lemon juice are essential to flavor—but they’re acidic. Add them after the greens are fully cooked, not at the beginning.
🧪The Science: Chlorophyll, Heat, and the Olive-Green Shift
Chlorophyll—the pigment that makes greens green—contains a magnesium ion at its center. Heat and acid dislodge that magnesium and replace it with hydrogen, forming a new compound called pheophytin, which appears olive-green.
This reaction happens gradually and is unavoidable in long-cooked dishes.
You can’t stop this change entirely, but managing heat, acid, and timing helps keep saag greener for longer.
Blanch for bright green saag (optional):
For vivid, restaurant-style color:
- Boil the greens for 1 to 2 minutes.
- Immediately transfer them to an ice bath.
- Drain, then puree.
This “shocks” the greens, stopping the color-changing reactions early.
This step is optional – but useful when presentation matters.
🧪The Science: Why Blanching “Locks In” Green Color
Blanching briefly exposes greens to high heat, then immediately cools them in ice water. This rapid cooling halts enzyme activity and slows the chemical reactions that dull color.
The result is brighter green leaves before they’re blended or added back to the dish.
Blanching is optional – but useful when visual brightness matters, such as for restaurant-style saag.
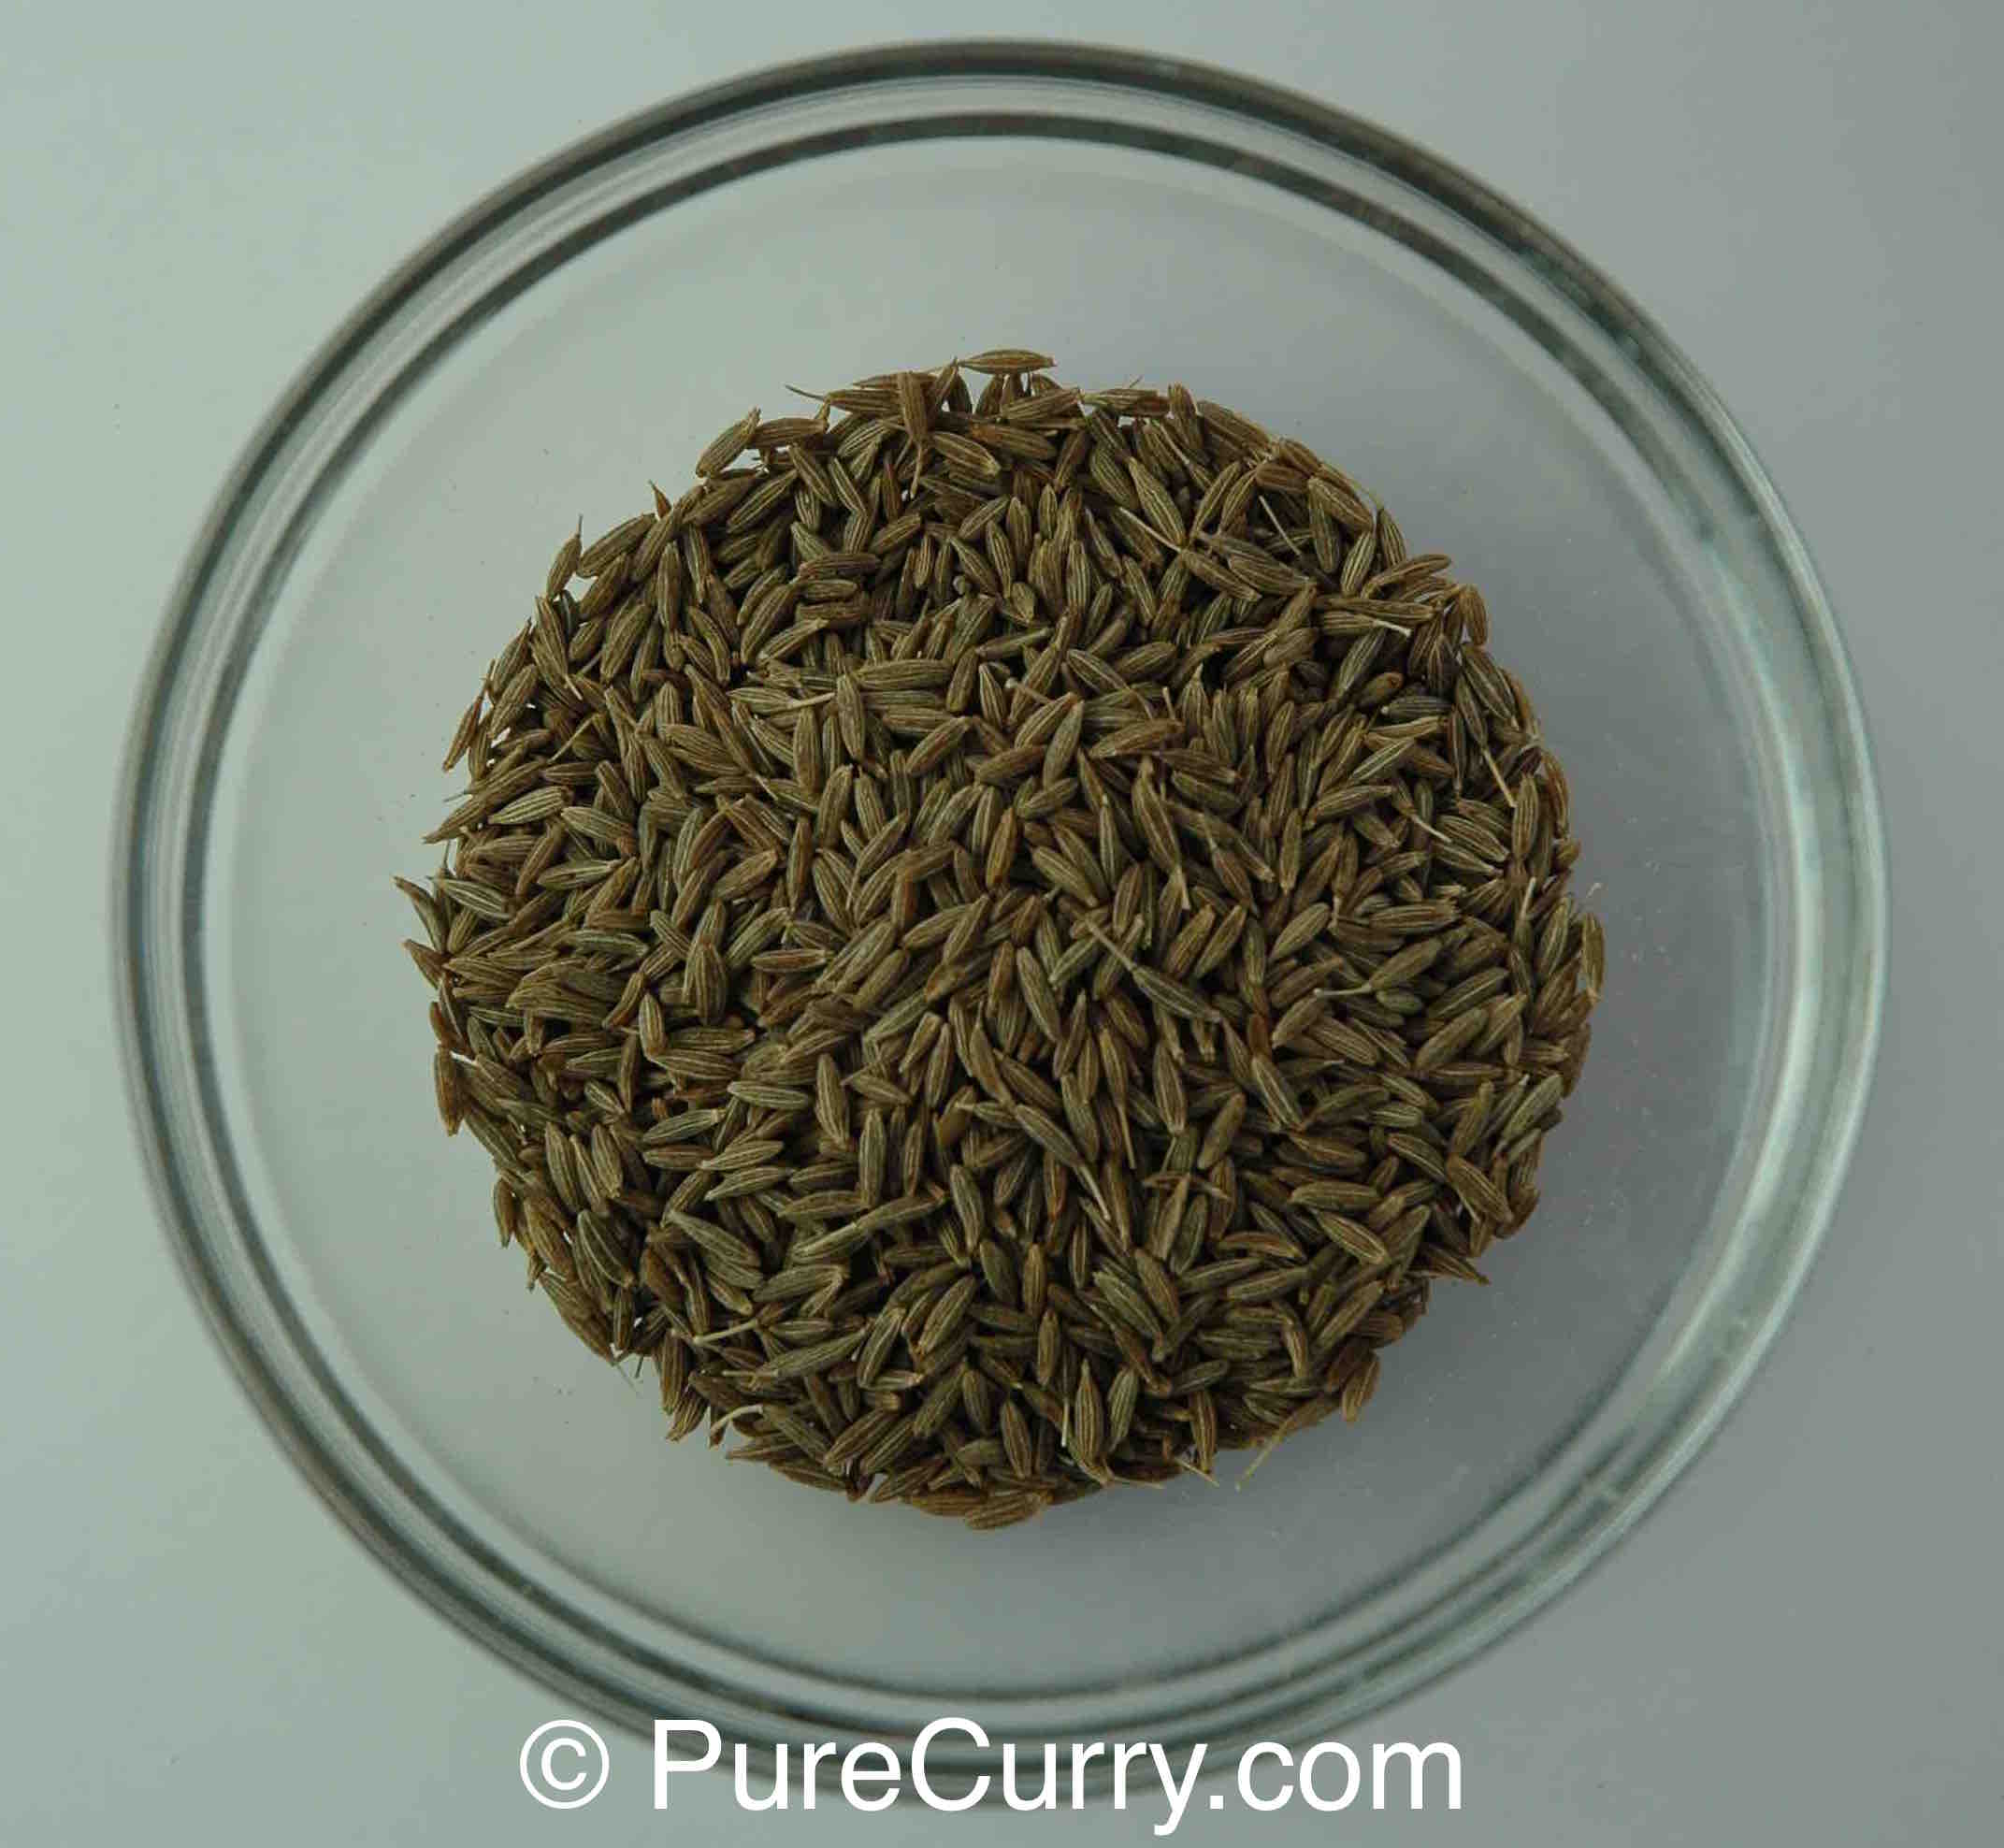
Managing Bitterness
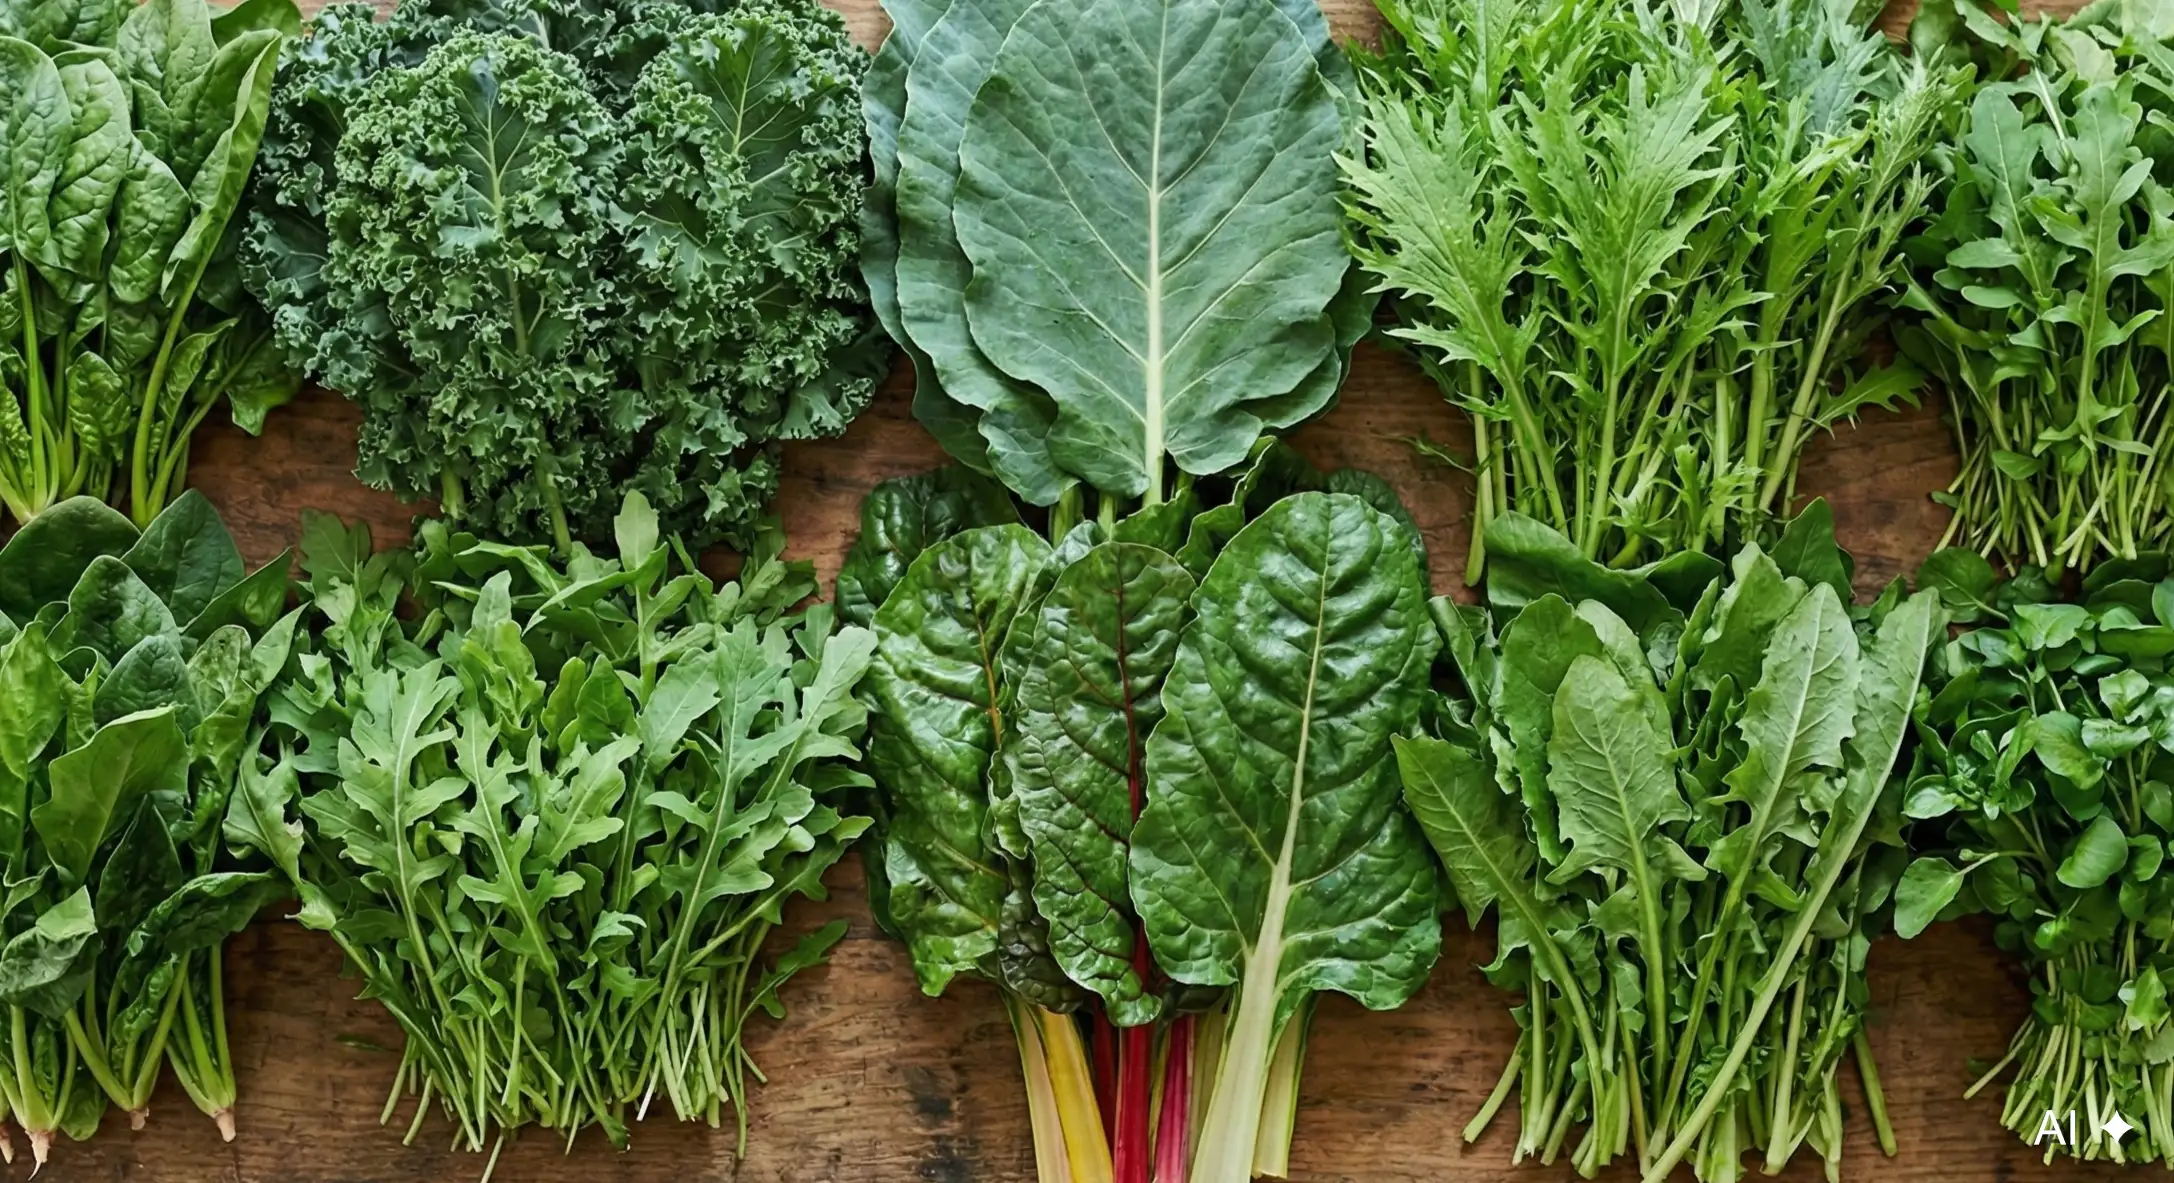
Sturdy greens like mustard greens, kale, and turnip greens have a natural sharpness that can surprise first-time cooks.
That bite comes from compounds the plant produces to protect itself. The good news? Cooking tames them.
How to Soften the Bite
Use Heat:
Cooking breaks down bitter compounds. This is why raw mustard greens taste pungent, while cooked ones taste savory and rounded.
Discard the Water (when needed):
If your greens are especially old or bitter, boil them for about 5 minutes, then drain and discard that water before continuing. This removes some of the harshness.
Use fat generously:
Fat doesn’t just add richness – it softens bitterness. Ghee or oil coats the tongue, smoothing sharp flavors and making saag taste fuller and more balanced.
🧪The Science: How Fat Softens Bitterness
Fat doesn’t remove bitterness—it changes how your tongue perceives it. Fat coats taste receptors and spreads flavors more evenly, muting sharp edges and enhancing richness.
This is why saag cooked with ghee or oil tastes smoother and more balanced than fat-free versions.
Generous fat isn’t excess – it’s part of the structure of the dish.
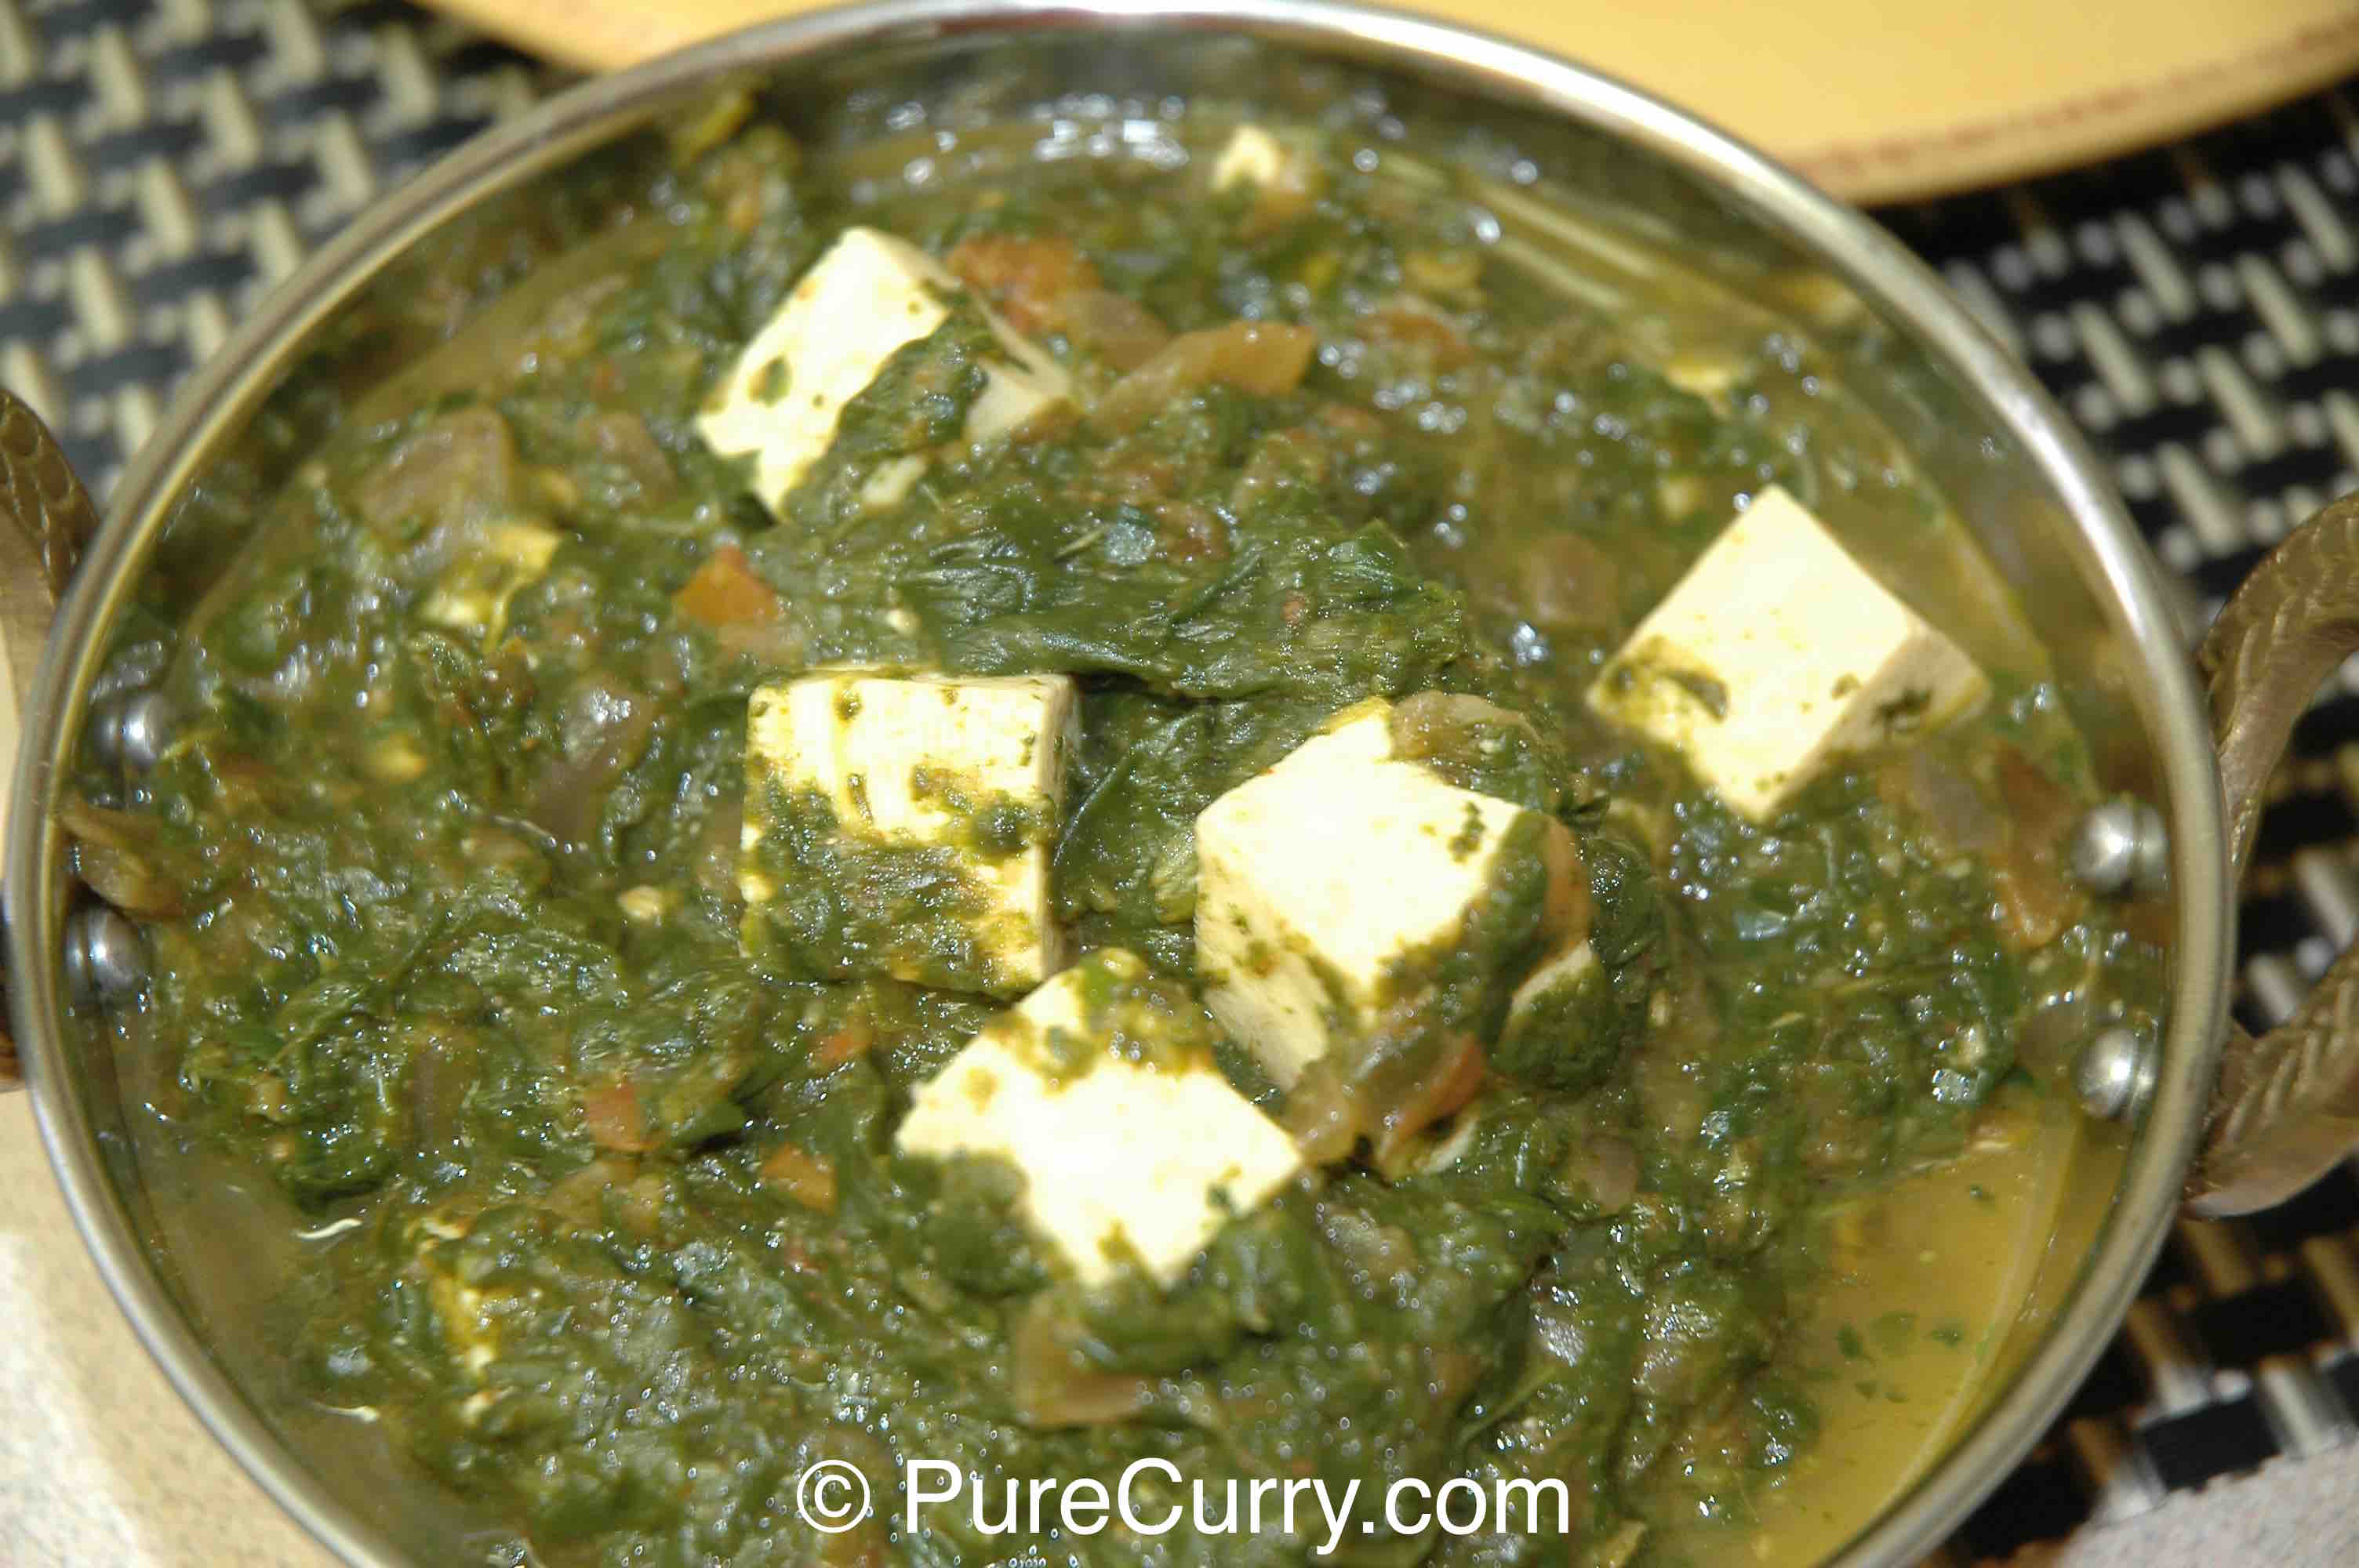
Adjusting Consistency
A common issue with homemade saag is separation: a thin green liquid settles at the bottom, while the greens sit on top.
That liquid isn’t a mistake – it’s the flavorful broth released as the greens cook. The goal isn’t to remove it, but to bind it back into the dish.
The Traditional Solution
In Punjabi cooking, this is often done by adding a spoonful of makki ka atta (cornmeal) to the simmering greens.
As the cornmeal cooks:
- Its starch absorbs excess liquid
- The mixture thickens slightly
- The greens and liquid move together as one
The result isn’t heavy or pasty – it’s cohesive, velvety saag.
🧪The Science: Why Cornmeal Thickens Saag Without Making It Heavy
Cornmeal contains starch. When heated in liquid, starch granules absorb water, swell, and gelatinize – thickening the surrounding liquid.
Unlike flour, cornmeal thickens gently and doesn’t cloud the flavor of greens.
Cornmeal (makki ka atta) doesn’t make saag thick, it makes it cohesive so greens and liquid move together.
Other Ways to Adjust Texture
- Let the saag simmer uncovered to gently reduce
- Mash some of the cooked greens back into the pot
- Blend a portion and stir it back in
The goal isn’t thickness, but to create a texture, a saag, that feels balanced and whole on the spoon.
What Comes Next
At this point, you have a well-cooked saag base: smooth, cohesive, and gently flavored. In Part 3 (Savor): Saag as a Foundational Sauce, we’ll turn that base into finished dishes—adding aromatics, pairing it with paneer, meat, or potatoes, and serving it with the perfect accompaniment.
This is where technique meets tradition—and where saag becomes endlessly adaptable.
Leave a Reply