
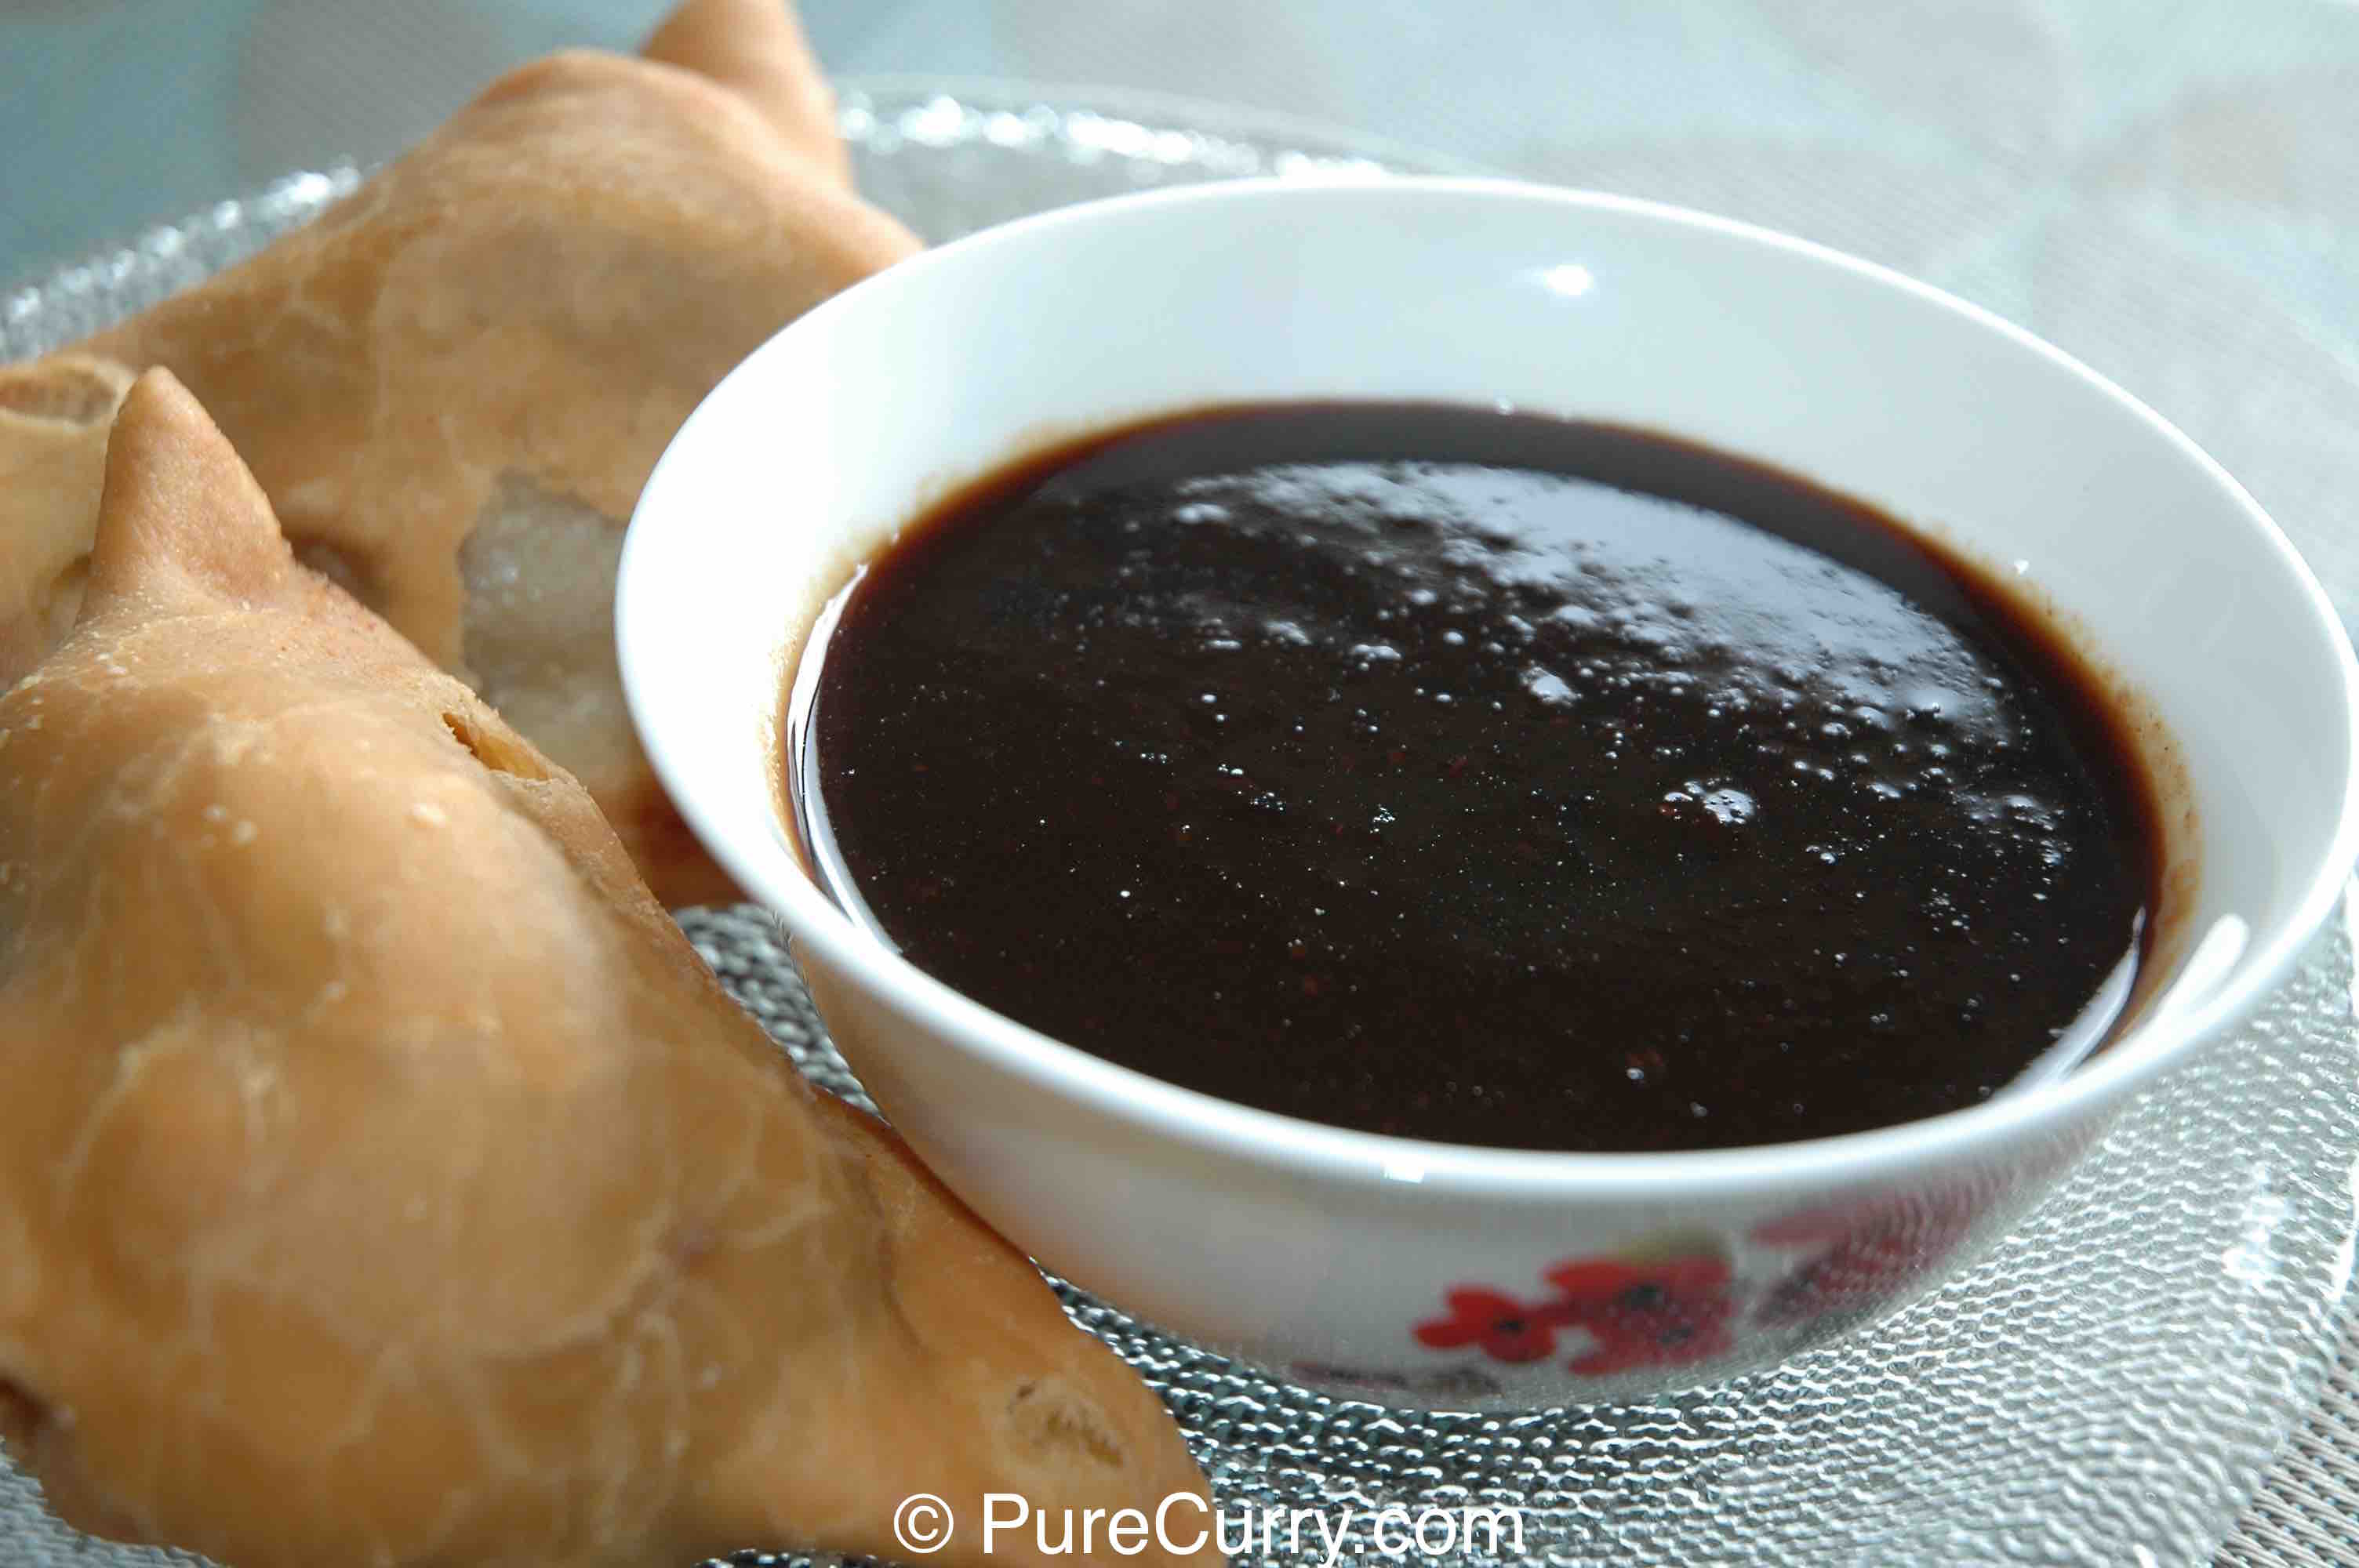
Tamarind Chutney is a classic sweet-and-sour condiment that pairs beautifully with fried snacks and appetizers, and it’s essential for dishes like bhel puri. The balance of tanginess from tamarind and sweetness from jaggery creates a bold, layered flavor that elevates even the simplest dishes.
This is also a great example of how economical homemade cooking can be. A small store-bought bottle can cost a few dollars, but with the same amount, you can make a large batch at home. I often prepare a big quantity since this chutney freezes very well and is always handy to have.
Straining the Tamarind Pulp
For this recipe, a regular mesh strainer is the best and most practical tool for separating the tamarind pulp from the seeds and fibers.
When I originally made this recipe, I used a food mill while photographing the process. While it does work, I found it to be more cumbersome than helpful. The fibrous texture of tamarind tends to get caught in the mechanism, making it harder to turn and more tedious to clean afterward.
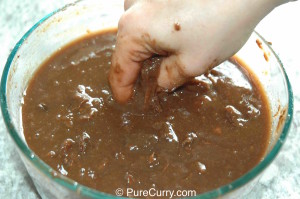
A simple medium or fine mesh strainer, on the other hand, gives you much better control. Press the pulp firmly with a spoon (or your hands) to extract as much as possible—you’ll get a smooth consistency with far less effort.
💡After the first pass, add a little water to the remaining pulp and strain it again to extract every bit of flavor and maximize yield.
Storage
Store in an airtight container in the refrigerator for up to 1 month. For longer storage, freeze in portions for several months.
Tamarind Chutney
Ingredients
- 8 oz Tamarind
- 16 oz Jaggery if jaggery is unavailable, substitute with raw sugar or brown sugar.
- 1 tsp Red Chili Powder use Kashmiri Red Chili powder reduce the spice level
- 2 tbsp Toasted Cumin Powder see the recipe for Toasted Cumin on PureCurry.com
- 1 tbsp Ginger Powder optional, but recommended as it adds depth and warmth
- 2 inch Cinnamon Stick
- 2 Bay leaves
Method
- Soak the tamarind in about 8 cups of water for at least 4 hours (or overnight for best results).

- Using your fingers, mash and squeeze the soaked tamarind to extract as much pulp as possible.
- Strain the mixture through a sieve to separate the pulp from seeds and fibers.

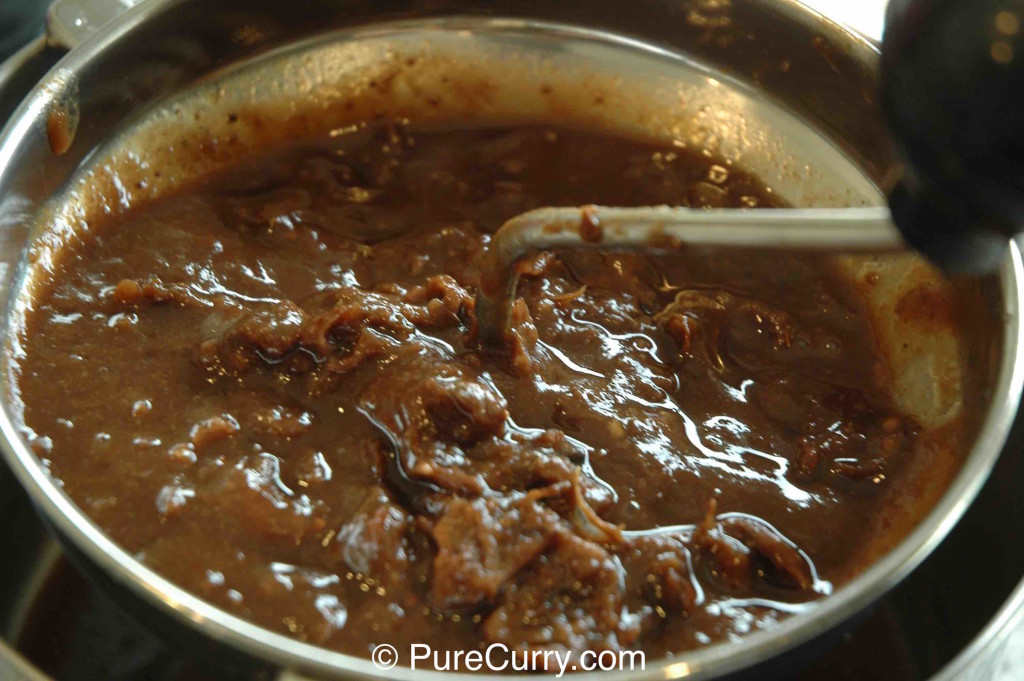
- Transfer the strained tamarind pulp to a heavy-bottomed pot.
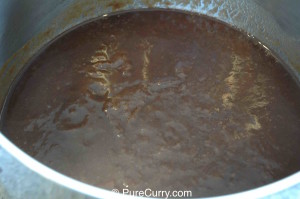
- Place the pot over medium heat and add the jaggery. Stir occasionally until it melts completely.
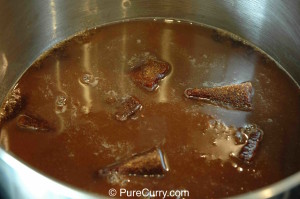
- Add the red chili powder, roasted cumin powder, ginger powder (if using), cinnamon stick, and bay leaf. Reduce heat to medium-low and cook for about 30 minutes.
- Taste and adjust the balance – add more jaggery or sugar if the chutney is too sour.
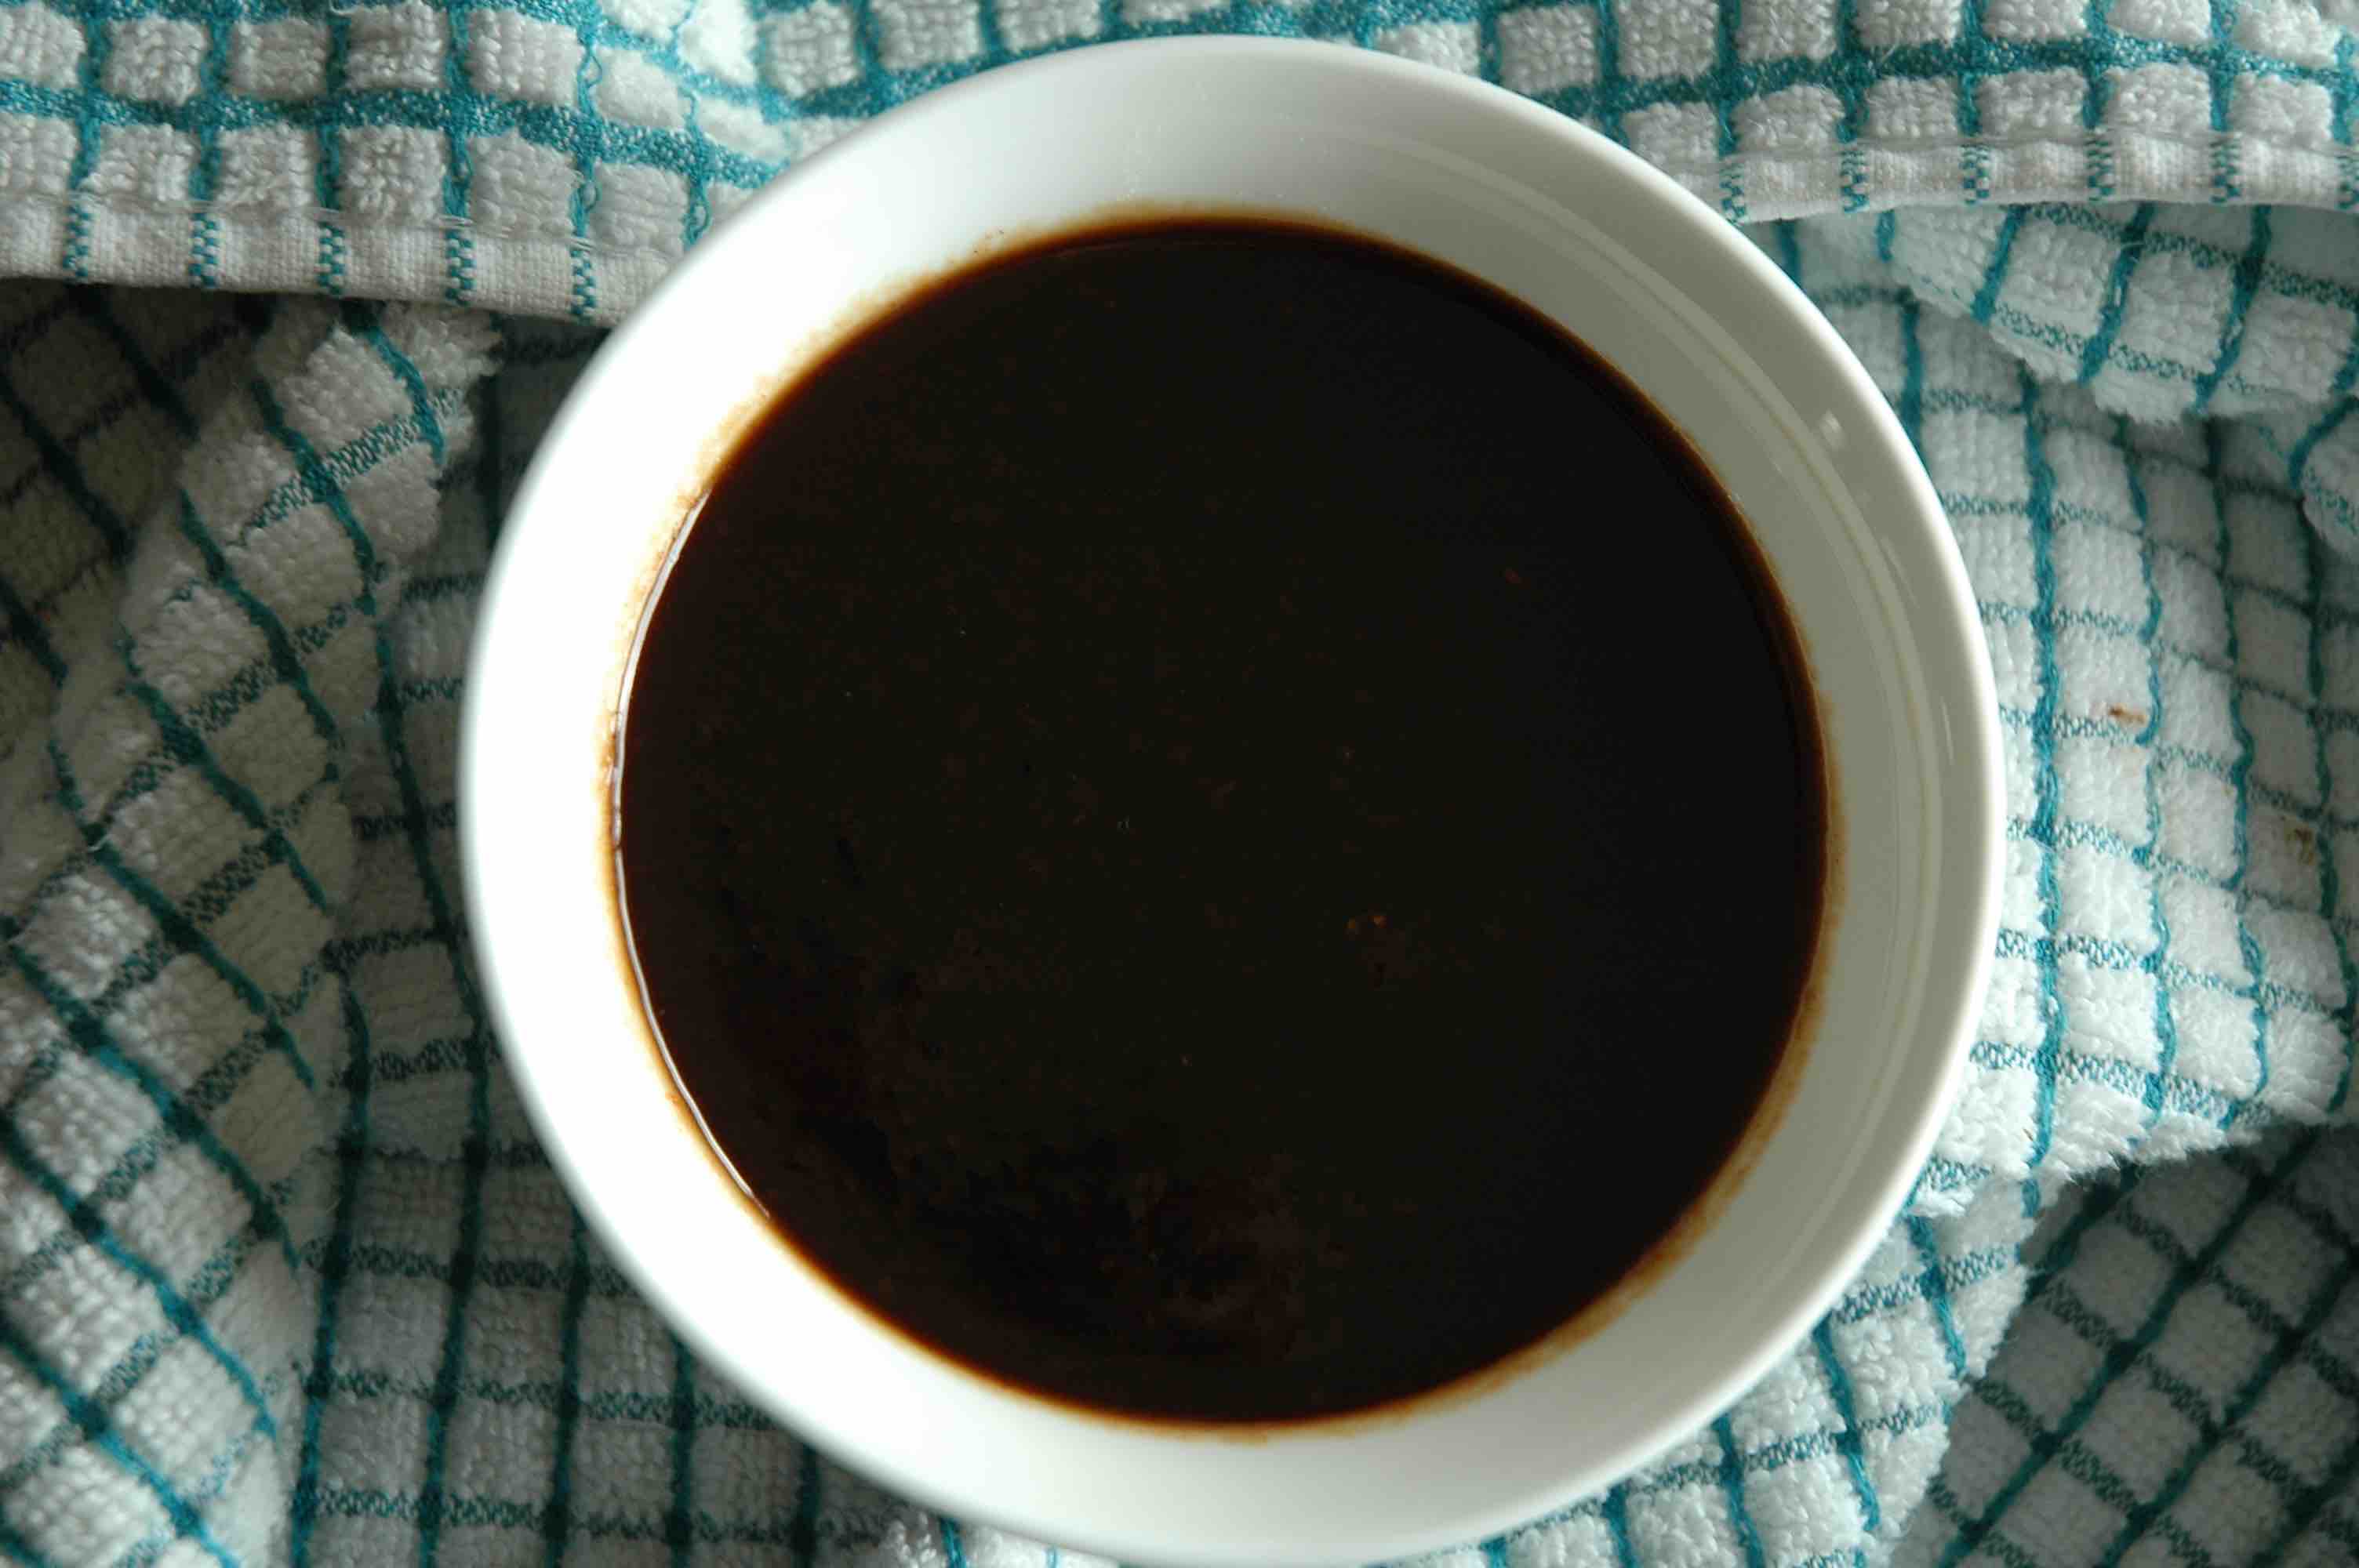
- Check consistency by dipping a spoon into the chutney. It should coat the back of the spoon and cling lightly.
- Remove the cinnamon stick and bay leaf, then let the chutney cool completely before storing.
- Cool the chutney completely before storing it. You can store it in the fridge for a few months, but it’s unlikely that this yummy chutney will last that long.
Leave a Reply